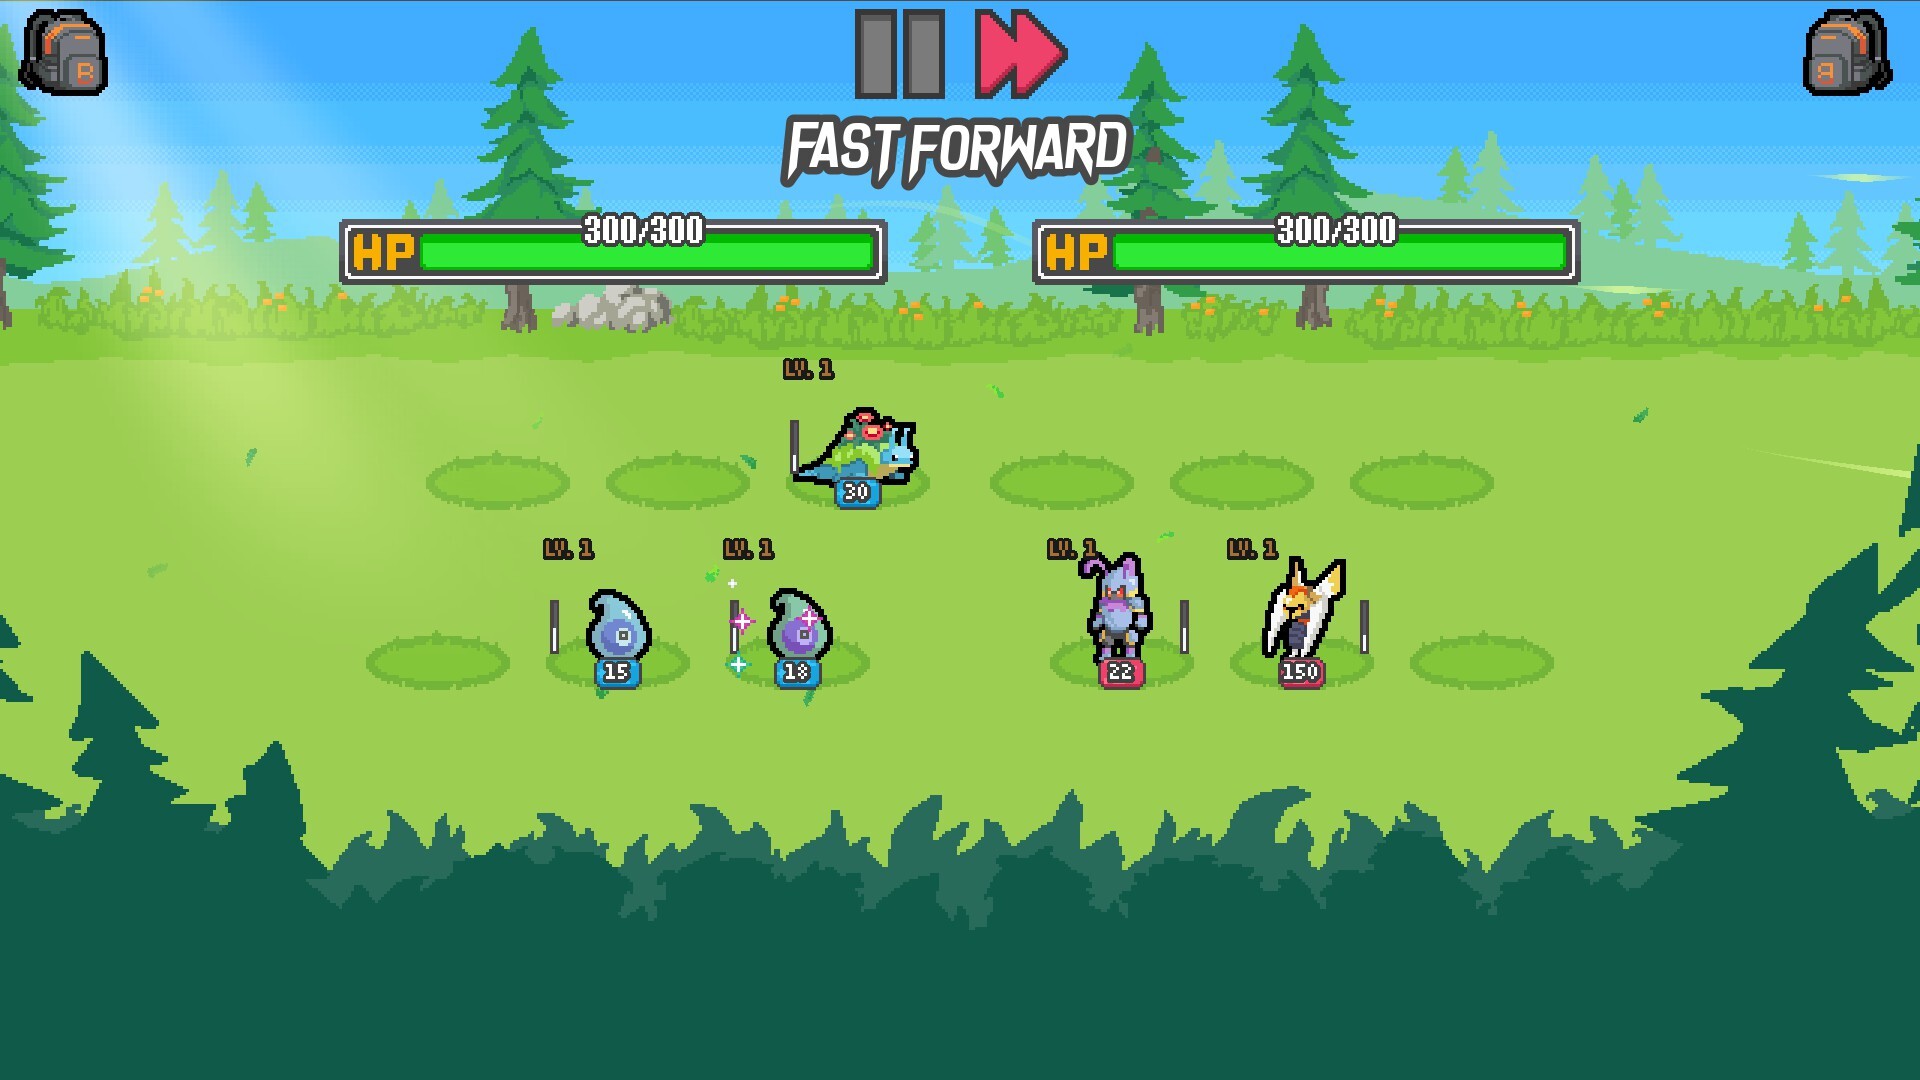
Master the Musician trainer in Batomon Showdown with our expert guide. Discover the best builds, synergy strategies, and ranked tips to dominate the boards.
Published:
Table of Contents
The world of Batomon Showdown is defined by the strategic choices you make at the very start of your run. Among the diverse roster, the Batomon Showdown musician trainer stands out as a high-risk, high-reward pick that often leaves players divided on its true potential. Whether you are climbing the ranks or struggling to find consistency in Casual mode, understanding how to maximize this specific trainer is key to unlocking your team's hidden power.
In this guide, we explore why the Batomon Showdown musician trainer is a compelling choice for players who enjoy "giga-chad" scaling builds. By focusing on his unique ability to amplify shock damage, you can turn a single unit into an unstoppable force that clears the board before the enemy knows what hit them.
The Core Mechanic: Understanding the Musician’s Passive
The Musician trainer provides a distinct bonus: a 150% increased shock effect, but only when you field a single shock minion. This passive creates a clear directive for your team composition. Unlike trainers who rely on board-wide buffs, the Musician demands a focused, hyper-carry playstyle.
Why the 150% Shock Bonus Matters
Most players instinctively want to build a balanced team, but the Musician forces you to specialize. By committing to one primary shock source, you essentially delegate the heavy lifting to a single monster, freeing up the rest of your board for defensive synergy and cooldown reduction (CDR) support.
Trainer Aspect
Strategic Value
Primary Passive
+150% Shock damage with 1 Shock Minion
Playstyle
Hyper-carry / Single-unit focus
Mid-Game Role
Scaling damage dealer
Requirement
Strict team composition limits
Strategic Approaches to the Musician
According to Batomon Showdown on Steam, balancing your board is critical for higher-tier gameplay. When using the Musician, your goal is to protect your carry at all costs while ensuring they hit as frequently as possible.
Build A: The Rapid-Fire Machine Gun
This build focuses on the legendary shock monster known for its rapid attack scaling. By pairing it with steel-type monsters that boost attack speed or provide CDR, you can keep the shock effect stacking infinitely.
The Carry: High-tier legendary shock monster.
The Support: Steel-types providing attack speed buffs.
The Goal: Trigger the shock effect multiple times per second, effectively turning your carry into a turret.
Build B: The Defensive Pivot
Some players, as noted in community discussions, find success by utilizing Humbolt as a carry with Zephyrex for protection. In this scenario, the Musician’s passive acts as a supplemental damage source that allows you to secure kills while your board absorbs enemy pressure.
Avoid the "Bait" Trap
Many beginners fall into the trap of trying to force a shock-heavy team. Remember, the bonus specifically triggers when you have only one shock minion. Adding a second one immediately nullifies your trainer's primary advantage.
Comparing Trainer Power Levels
To truly understand where the Musician sits in the current meta, it helps to look at how he performs against other popular archetypes. While some players in the community argue that the Musician belongs in B-tier, consistent high-ranked players have demonstrated that he can compete with S-tier picks under the right conditions.
Trainer Category
Key Advantage
Difficulty Level
Economy Trainers
Gold efficiency and rerolls
Beginner
Type Specialists
Stat boosts for specific types
Intermediate
Musician (Shock)
Exponential single-target scaling
Expert
Delayed Payoff
Massive late-game power spikes
High
Optimization: How to Build Your Board
If you are determined to climb with the Musician, your drafting phase is where the game is won or lost. You cannot rely on random pulls; you must actively hunt for the specific steel-type monsters that increase your primary carry’s potential.
Step-by-Step Drafting Strategy
Early Game: Focus on survival. Use early-game shock minions like Electranade to clear the board, but be prepared to pivot.
Mid-Game: Secure your legendary carry. If you haven’t found your core unit by day 5, look for defensive monsters that provide shielding.
Late Game: Prioritize CDR and Attack Speed trinkets. Your carry’s individual damage output is your only win condition.
Community Insights and Controversies
The community is deeply split on the viability of the Musician. Some players argue that the 150% shock bonus is insufficient for the late-game, suggesting it should be bumped to 300% or 400%. Conversely, top-tier players (including those in the top 100 rankings) have shown that with perfect positioning and correct support units, the Musician is incredibly potent.
Player Argument: The passive is "weak" because it forces a single-unit strategy that is vulnerable to CC (crowd control).
Pro Argument: The passive allows for one-slot efficiency, giving you an extra space on the board compared to trainers who require multiple monsters of the same type to function.
FAQ: Mastering the Musician
Q: Is the Batomon Showdown musician trainer suitable for beginners?
A: Generally, no. Trainers like Youngster or Bug Catcher are better for learning the economy. The Musician requires an understanding of positioning and synergy to be effective.
Q: Does the 150% shock bonus apply to items?
A: The bonus focuses on the base shock effect of your single shock monster. Always prioritize increasing the frequency of attacks to make the most of this passive.
Q: What is the best rank to use this trainer?
A: While he can work in Casual, the Musician shines in Platinum and Diamond tiers where opponents have predictable meta builds that you can counter with a high-damage hyper-carry.
Q: What is the most common mistake with the Musician?
A: Adding a second shock monster to your board. This instantly disables the Musician's passive, rendering your trainer ability useless. Always keep your shock count to exactly one.