
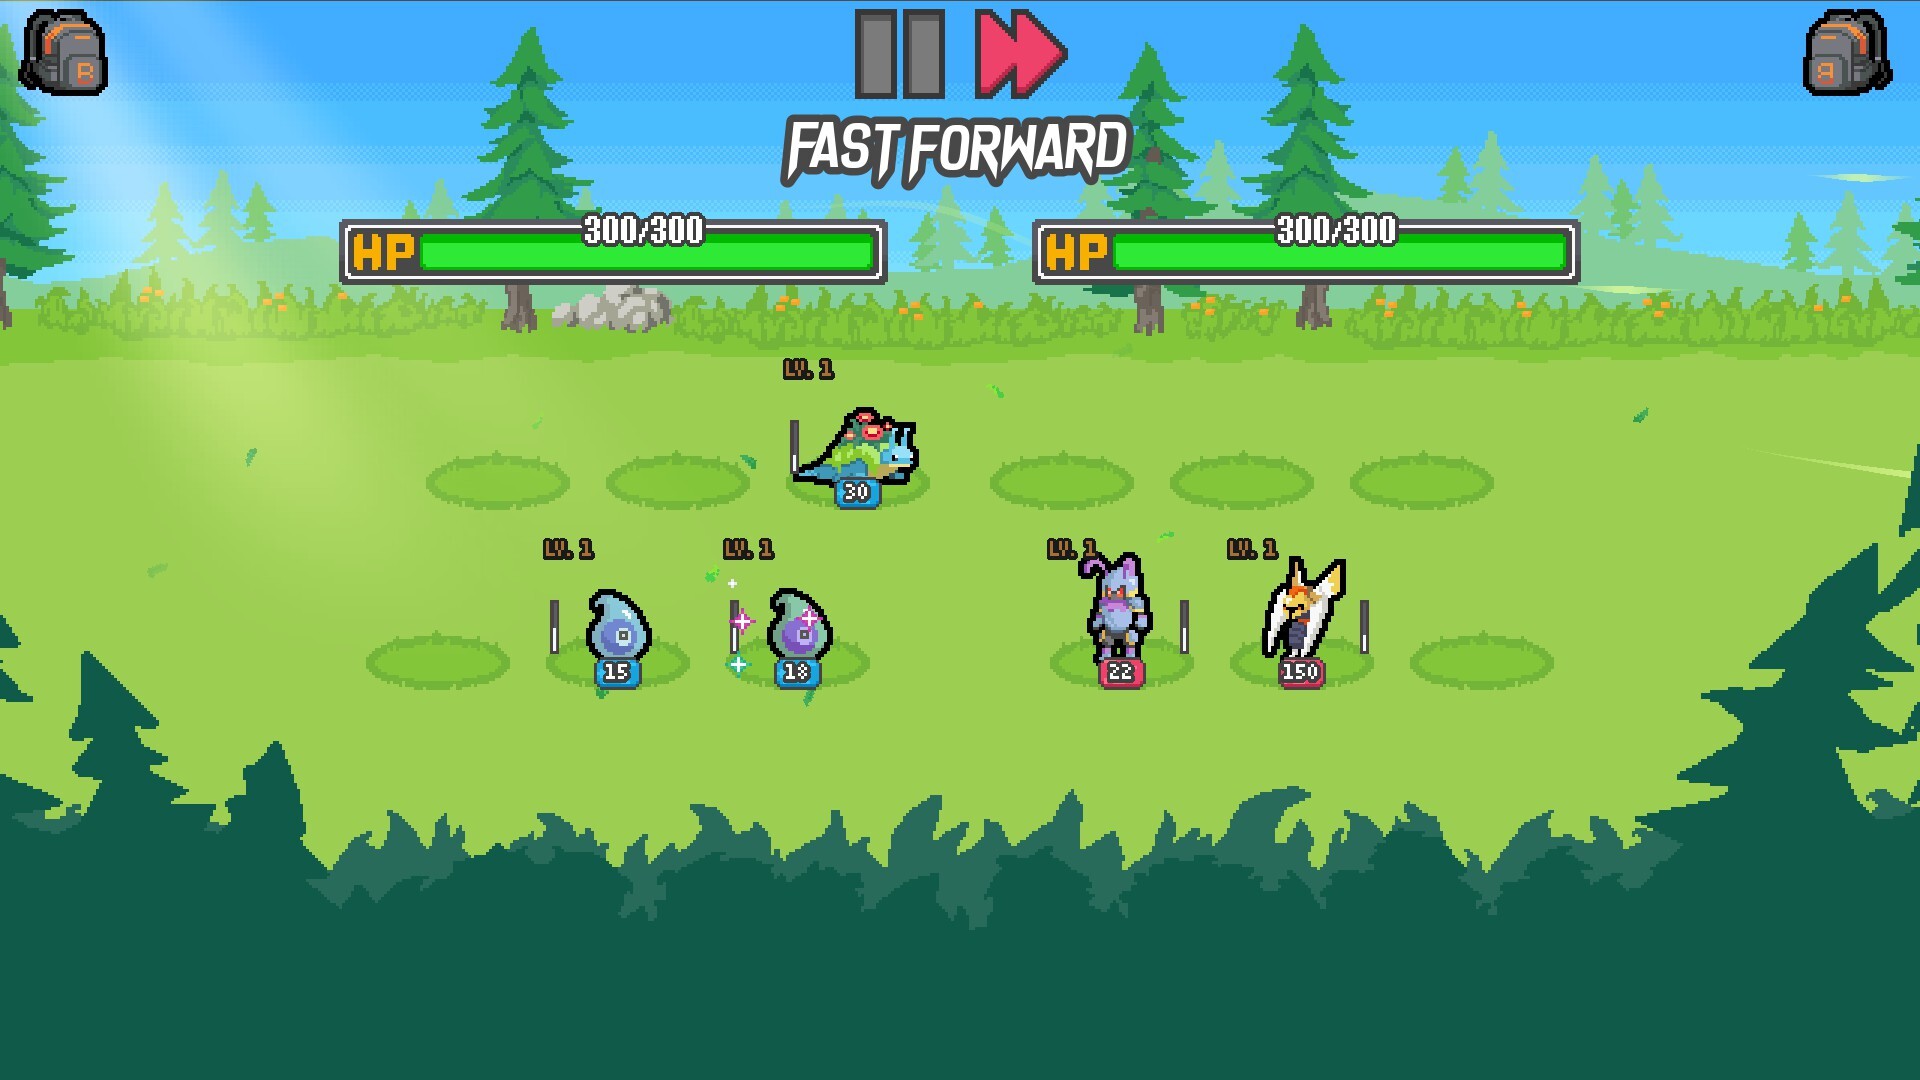
Navigating the competitive landscape of berrymint’s latest hit requires more than just luck; it requires a deep understanding of the batomon showdown tier list to secure those elusive 10-win runs. Whether you are climbing the master ranks or just starting your journey in the Ginto region, knowing which monsters scale effectively and which ones fall off after day two is the difference between a victory and a wasted run. This batomon showdown tier list is designed to help you prioritize high-value targets like Velocect and Sun Sage while avoiding the "traps" that often look good on paper but fail to deliver in high-stakes matches. In the current Balance 22 meta, the focus has shifted toward multicast efficiency and permanent cooldown reduction, making specific common-tier monsters surprisingly dominant.
Table of Contents
The Current Meta and S-Tier Powerhouses
The current meta, specifically Steam Build 25377295, favors monsters that can either scale their stats permanently or provide overwhelming multicast triggers. According to community reports and veteran player experience, the "Common Slop" strategy—investing heavily in low-rarity monsters that gain massive benefits from support units—is currently the most consistent way to reach 10 wins.
S-Tier: The Must-Haves
Monsters in this tier are either run-defining or provide such immense value that they fit into almost any composition.
- Velocect (Common): Despite its low rarity, Velocect is arguably the best monster for reaching 10 wins. It gains significant multicast for each level, reaching up to 16 multicasts at level four (shiny). When paired with cheap trinkets like Power Pouch, it becomes an unstoppable force.
- Sun Sage (Evolution): Evolved from Scorchimp, Sun Sage gains 20% permanent cooldown speed for each fire ally at the start of battle. This makes it the most consistent evolution in the game, especially when using the Chef trainer to give other monsters fire typing.
- Forma Queen (Rare): A massive enabler for common-based teams. It provides adjacent common allies with a 25% cooldown speed boost, allowing your Velocects and Bumble Bolts to trigger at blistering speeds.
- Omnichrome (Mythic): The gold standard of mythics. It gains 80% of the stats of the strongest enemy monster permanently at the start of battle. Its "All" typing makes it compatible with every synergy, including Dryadell (Grass) and Torrantler (Water).
| Monster Name | Rarity | Primary Role | Why It’s S-Tier |
|---|---|---|---|
| Velocect | Common | DPS | Unmatched multicast scaling for a common unit. |
| Sun Sage | Evolution | Scaling DPS | Permanent cooldown reduction based on team typing. |
| Forma Queen | Rare | Support | Essential for making early-game commons viable late-game. |
| Omnichrome | Mythic | Carry | Steals stats permanently; fits into any archetype. |
| Onsetra | Legendary | Support | Triples ongoing abilities of the ally behind it. |
A-Tier and B-Tier: Building Around Archetypes
While S-Tier monsters are universally great, your batomon showdown tier list strategy should also account for specific archetypes like Poison, Shock, and Burn. A-Tier monsters are excellent core units that require a bit more synergy to shine but can easily carry a 10-win run.
The Poison Archetype
Poison is highly effective in the current patch because it bypasses traditional shield scaling. The core of a winning poison build usually revolves around Puffloon.
- Puffloon (Uncommon): Triggers its ability when adjacent toxic allies trigger. This creates a chain reaction of healing and poison application.
- Spinarai (Common): The best trigger for Puffloon due to its naturally low 2.5-second cooldown.
- Cobrex (Legendary): The ultimate endgame for poison. It charges its ability by 1 second whenever an ally inflicts poison, leading to massive stacks that can melt bosses.
The Shock and Item Meta
Shock builds rely on high-frequency hits to stun-lock opponents.
- Electrenade (Uncommon): A run-defining monster that applies massive shock (28+) but knocks itself out. It’s perfect for fast, aggressive teams.
- Bumble Bolt (Common): With a 2.5-second cooldown and shiny scaling (+3 shock per battle), this is a premier A-tier pick for shock enthusiasts.
- Craghorn (Uncommon): A B-tier powerhouse that gains 20 damage and shield whenever you use an item. Pair this with Baroon to generate berries and refresh item uses for rapid scaling.
The Baroon-Craghorn Combo If you find an early Baroon, look for Craghorn immediately. Baroon ensures your shop sells berries, which allow you to use more items per day, directly feeding Craghorn’s permanent stat growth.
Support Monsters: The Key to Consistency
One of the biggest mistakes players make when consulting a batomon showdown tier list is ignoring the "cooldown" economy. High-damage monsters are useless if they never cast. This is where the support tier comes in.
Cooldown and Trigger Enablers
- Bumagon (Uncommon): Recently nerfed from a 6s to a 7s cooldown, but still vital. It gives the ally behind it a permanent 4% cooldown speed boost on cast. It is the backbone of slow-scaling builds like Craghorn or Dryadell.
- Dryadell (Rare): On cast, it triggers the grass ally above it. This is incredibly powerful when used on a level three Craghorn or Bambudo, effectively giving them multiple free turns.
- Rune Rock (Uncommon): A top-tier defensive filler. It removes debuffs and provides a 140 shield. It’s a hard counter to shock builds and can keep your team alive through the difficult mid-game days (Days 4-7).
| Support Unit | Rarity | Synergy Target | Primary Benefit |
|---|---|---|---|
| Bumagon | Uncommon | High CD Monsters | Permanent cooldown reduction over long battles. |
| Dryadell | Rare | Grass Types | Instant triggers for powerful "On Cast" abilities. |
| Onsetra | Legendary | Forma Queen | Multiplies ongoing buffs, creating massive stat gaps. |
| Baroon | Uncommon | Shop/Economy | Guarantees berries for item-based scaling. |
Navigating the Ginto Region and New Mechanics
The introduction of the Ginto region has added a layer of complexity to the batomon showdown tier list. New trainers like the Black Belt introduce "On Victory" triggers, which can be activated at the start of battle if you have exactly one fighting monster.
The Beatbud Strategy
A popular community strategy involves Beatbud. At level three, Beatbud’s "On Victory" ability grants 300 permanent damage. By using the Black Belt trainer, you can trigger this 300 damage at the start of every battle, allowing Beatbud to reach thousands of damage points before the final showdown.
Leveling and Shiny Priorities
Not all shinies are created equal. According to community testing:
- Velocect: High shiny priority (Multicast scaling).
- Bumble Bolt: High shiny priority (Shock scaling).
- Electrenade: Low shiny priority (Minimal shock increase).
- Puffloon: Low shiny priority (Healing focus is weak in the current meta).
Players are encouraged to check the official Batomon Showdown Steam Page for the latest patch notes, as berrymint frequently adjusts these values to maintain balance.
Common Pitfalls and F-Tier Traps
To improve your win rate, you must know which monsters to avoid, even if they appear to have high stats. Many monsters in the F-tier are simply too slow for the 10-win ranked format.
- Column (Super Rare): While Column is a god in "Endless Mode" (Day 30+), it is considered "trash" for a standard 10-win run. Its 10-second cooldown is far too long to be effective before you are already knocked out.
- Zephyrex (Rare): Another "win-more" monster. By the time it grants multicast to a flying ally, the battle is usually over. It is too slow to help you come from behind.
- Lignite (Uncommon): The burn scaling is simply too difficult to maintain over 10 wins. Unlike poison, burn stacks are harder to multiply effectively without specific legendary support.
- Joltail & Magmite: These early-game commons have poor scaling and long cooldowns. They are almost always outclassed by Velocect or Bumble Bolt by Day 3.
Avoid Greedy Scaling Monsters like Prisma or Thorn Tail require too many turns to become "online." In ranked mode, you need immediate impact. If a monster takes 10 seconds to cast its first ability, you will likely lose 50% of your HP before it triggers.
Advanced Team Building: The Path to 10 Wins
Combining the elements of the batomon showdown tier list into a cohesive team is the final step. A standard winning board in Balance 22 often looks like this:
- The Carry: Velocect or Sun Sage (Positioned for maximum protection).
- The Buffer: Forma Queen or Stellagon (Adjacent to the carry).
- The Enabler: Dryadell or Onsetra (To trigger or multiply buffs).
- The Defender: Rune Rock or Aegistruct (To mitigate incoming shock/poison).
- The Economy: Baroon (Used early to mid-game, then swapped for a legendary).
Comparison of Top Archetypes
| Archetype | Difficulty | Consistency | Key Monster |
|---|---|---|---|
| Common Slop | Low | Very High | Velocect |
| Fire/Burn | Medium | High | Sun Sage |
| Poison Stacks | High | Medium | Puffloon |
| Item Scaling | Medium | High | Craghorn |
| Shock Stun | High | Low | Electrenade |
FAQ: Batomon Showdown Strategy
What is the best monster in the Batomon Showdown tier list for beginners?
For new players, Velocect is the best choice. It is a common unit, meaning it is easy to find in the shop and cheap to level up. Its multicast ability allows it to deal massive damage with very little investment in complex synergies. Simply pair it with a few "Power Pouch" trinkets and you will see immediate results.
How do I beat shock builds in ranked mode?
Shock builds rely on fast cooldowns to prevent your monsters from attacking. The best counter is Rune Rock, which removes debuffs from your team on cast. Additionally, building for high "Shield" instead of pure "Health" can help you survive the initial burst of a shock-heavy team.
Is the Ginto region harder than the Pantra region?
The Ginto region isn't necessarily harder, but it introduces different mechanics like "On Victory" and "Fighting" types. In Ginto, you need to pay closer attention to your trainer choice. For example, the Black Belt trainer can make certain monsters like Beatbud significantly more powerful than they would be in the Pantra region.
Why is Column ranked so low on this tier list?
In this batomon showdown tier list, we focus on reaching 10 wins in ranked mode. Column has a massive 10-second cooldown. In ranked matches, most battles are decided within the first 5-8 seconds. While Column is amazing in Endless Mode where battles last much longer, it is usually a liability when you are trying to secure those first 10 victories.
Sources and known gaps
- Batomon Showdown comps, meta & team builder Source accessed:
- Batomon Showdown Tier List (Community Rankings) Source accessed:
- The Definitive Batomon Showdown Tier List! Source accessed:
- 60+ New Batomon and New Trainers! (Batomon Showdown) Source accessed: