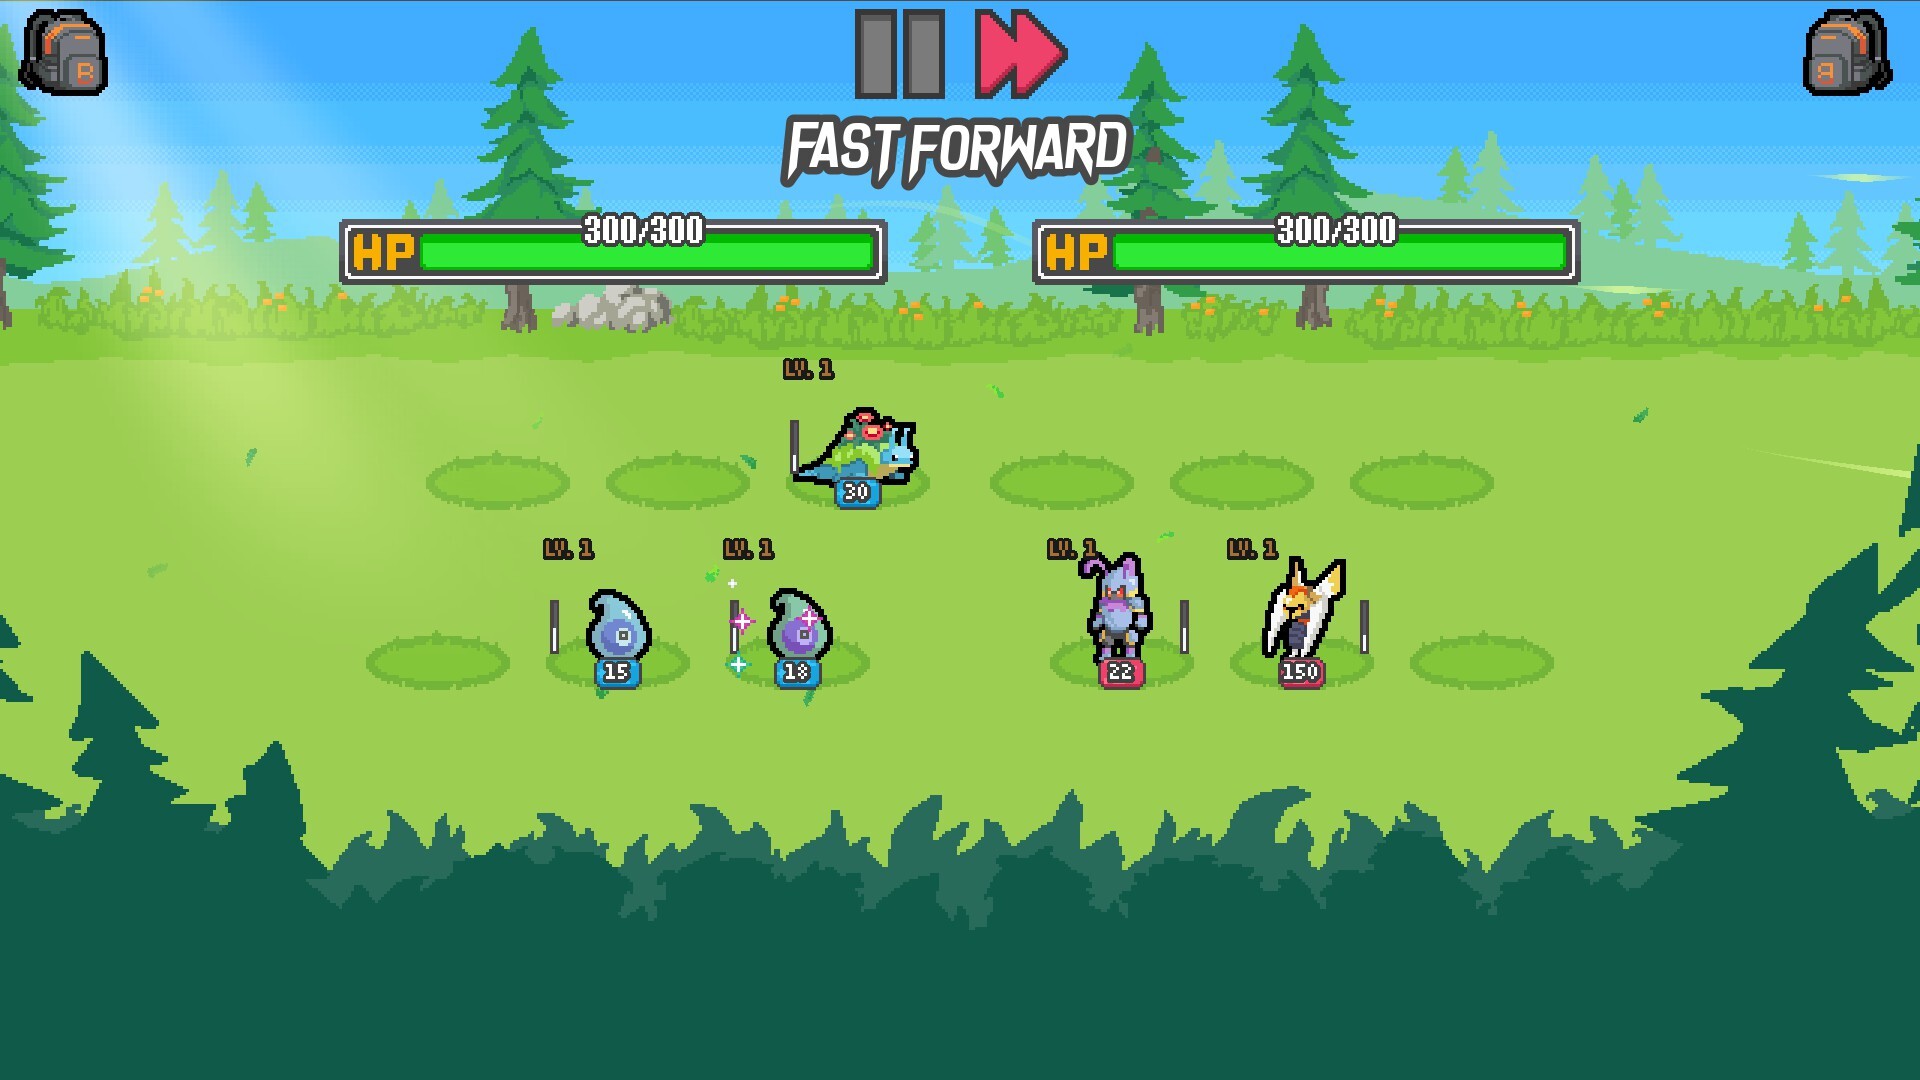
Batomon Showdown Shield Build Guide: Master the Ultimate Defense
Learn how to craft the unstoppable Batomon Showdown shield build to crush your opponents. Discover top strategies, key synergies, and unit positioning tips.
Published:
Table of Contents
When playing Batomon Showdown, the difference between a quick loss and a legendary winning streak often comes down to one simple choice: do you play for the kill or for the wall? Mastering a Batomon Showdown shield build is your gateway to endless survival in the game’s competitive ranked and endgame modes. By focusing on shielding mechanics, you can outlast opponents who rely solely on glass-cannon damage, turning your team into an impenetrable fortress.
Building a defensive powerhouse is essential because the game’s shared HP pool system rewards those who can sustain pressure. If you are struggling to climb the ranks or finding yourself overwhelmed by fast-hitting Shock comps, learning to integrate shield-generating units is the most effective way to flip the meta on its head.
Understanding the Shield Mechanics
Before diving into unit selection, you must grasp how damage absorption works. In Batomon Showdown, shields serve as a buffer that absorbs incoming hits before your shared HP bar takes a single point of damage. Unlike healing, which repairs lost HP, shields provide a proactive layer of protection that can make your team effectively immortal if your "shield-per-second" exceeds the opponent's total output.
Recent community reports and developer balance patches have emphasized that status damage—specifically Poison—no longer ignores shields. This makes the Batomon Showdown shield build even more viable. When building your defense, keep these core interaction rules in mind:
Mechanic
Interaction with Shield
Direct Damage
Absorbed fully by shield first.
Poison Damage
Reduced by 15% before hitting shield.
Shock Damage
Resolves before the direct hit, hitting shield first.
Burn/Poison
Scales over time; shield buys time for your engine to win.
Essential Units for a Dominant Shield Build
Not every monster is built for defense. To make a batomon showdown shield build work, you need high-tier support units that can consistently trigger shield-generation abilities. Based on player experience and top-tier meta analysis, the following units are the cornerstone of a successful defensive run.
Key Defensive Monsters
Aegis-Destruct: The backbone of your build. Its ability to gain massive shield stacks makes it a priority target for cooldown reduction.
Column: A vital defensive anchor. Its "On Battle Start" ability triggers shields based on adjacent allies, which can be amplified through strategic positioning.
Geminis: Crucial for late-game scaling. Its "On Cast" ability provides massive shield percentage buffs, especially when paired with multicast items.
[!TIP]
Maximize Adjacency for Shield Synergy
Always aim to have your primary shield-generating units touching each other. Using items like the "Topaz Amulet" can treat all your monsters as adjacent, effectively turning your entire board into a combined shield-generating engine.
Optimizing Your Team for Endgame Survival
Once you have your core units, the next step is reducing their cooldowns. A Batomon Showdown shield build is only as good as its activation frequency. If your Aegis-Destruct takes 8 seconds to trigger, your opponent will likely break through your shields before you can refresh them.
You should aim to lower the cooldowns of your primary shield units to under 1 second. This creates a state where you are regenerating millions of shield points per battle. Here is a breakdown of how to prioritize your shop spending for maximum efficiency:
Investment Type
Why It Matters
Cooldown Reduction
Allows units to cast shields faster than the enemy can damage.
Multicast Items
Doubles or triples the shield output per cast.
Shop Rank Upgrades
Crucial for finding legendary units like the Golem or Geminis.
Gold Trinkets
Focus on "Battle Start" triggers to front-load your defenses.
Strategy: Positioning and Turn Planning
Positioning is the silent killer in Batomon Showdown. According to expert strategies shared in the community, you should never place your shield-multiplier units on the periphery. Place your most critical "Ongoing" or "On Cast" shield-generators in the center of your formation to ensure they benefit from as many adjacent buffs as possible.
Common mistakes often include placing a high-cooldown unit next to a buffer who relies on "On Cast" triggers. Always check the ability text—if a unit buffs the "ally behind," place your shield unit directly in front of the buffer. Failing to map out these triggers is why many players find their shield builds failing in the late game. For more details on these intricate interactions, visit the official Batomon Showdown Steam store page to check for recent gameplay updates.
Dealing with Sudden Death
At the 30-second mark, the game introduces "Sudden Death," where shared HP begins to drain rapidly. A well-optimized Batomon Showdown shield build is designed to survive this phase easily. Because shield builds focus on outlasting the opponent, you should not be afraid of a long battle. If your shields are in the millions, Sudden Death is simply the stage where your opponent realizes they have no hope of winning.
[!WARNING]
Avoid Mixing Status Types
Do not try to build a hybrid Poison/Burn team while running a defensive shield comp. Mixed status builds without a dedicated payoff unit often lack the kill speed to finish a match, leading to an inevitable loss when your shield eventually saturates.
Frequently Asked Questions (FAQ)
What is the most important stat for a shield build?
Cooldown Speed is the most important stat. Without low cooldowns, your Batomon Showdown shield build will be too slow to keep up with incoming damage, regardless of how high your shield values are.
How do I handle opponents with high Poison?
Poison is less threatening than it used to be. Focus on units that generate shields faster than the Poison ticks down. Since Poison damage against shields is reduced by 15%, a high-shield build naturally counters standard Poison engines.
Should I prioritize damage or defense in the late game?
Focus entirely on defense and synergy. In Batomon Showdown, the best offense for a shield build is the "outlast" factor. Once your shield exceeds your enemy’s damage, you win by default as the match proceeds.
Can I run a shield build without legendaries?
While legendaries make the build significantly more powerful, you can start with units like the Pebbler and progress into shield-focused rares. The key is to secure your cooldown-reduction engine early rather than hunting for specific high-rarity units.