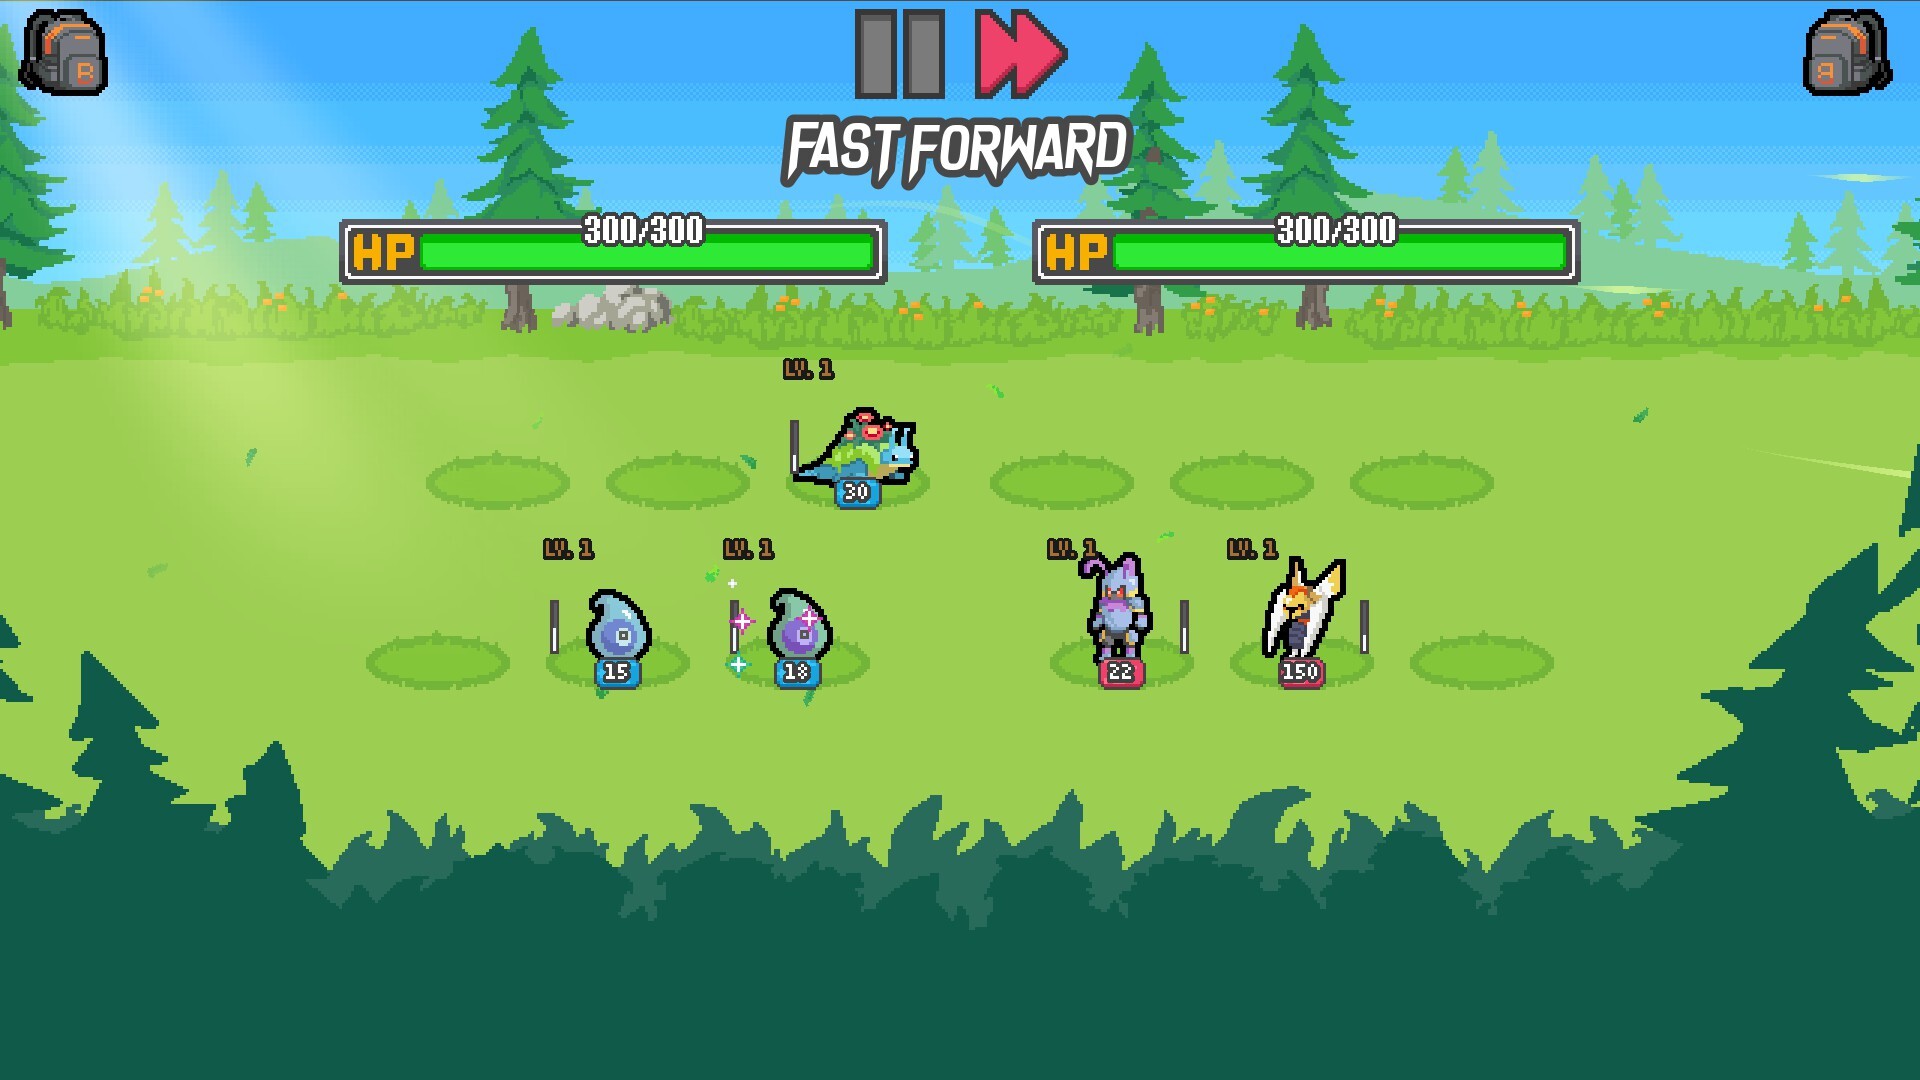
Batomon Showdown Start of Combat: Master the Opening Phase
Master the Batomon Showdown start of combat triggers with our guide. Learn trainer synergies, trinket combos, and the best Batomon for early game dominance.
Published:
Table of Contents
In the fast-paced world of asynchronous auto battlers, the first few seconds of an encounter often dictate the entire outcome. Understanding the batomon showdown start of combat mechanics is essential for any player looking to climb the ranks and survive the grueling trials of Extended Mode. Whether you are a seasoned Monster Ranger or a novice Bug Catcher, the way your team initializes its abilities can mean the difference between a flawless victory and a devastating loss of lives.
The batomon showdown start of combat phase is not just about who hits first; it is about how your synergies, trinkets, and trainer passives stack to create an insurmountable advantage. By mastering the opening triggers, you can effectively "break" the game, turning even common Batomon into meta-shattering powerhouses. This guide will delve deep into the mechanics that govern the start of every fight, providing you with the tactical knowledge needed to assemble the ultimate team.
Quick Answer
Success in Batomon Showdown hinges on optimizing "Start of Combat" triggers. Focus on high-speed Batomon like Bumble Bolt for early disruption, or utilize stall-heavy compositions featuring Plunderbird to outlast opponents. Always prioritize trinkets that grant flat damage or CDR (Cooldown Reduction) to ensure your abilities fire before the enemy can react.
The Mechanics of Combat Initialization
Combat in Batomon Showdown follows a specific sequence. Once an opponent is found, the game calculates all passive bonuses before the first active ability fires. This initialization phase is where your strategy either flourishes or fails.
There are three primary types of triggers that occur at the batomon showdown start of combat:
Trainer Passives: These are always active and usually provide shop-phase benefits or static stat boosts during the fight.
Trinket Effects: Items like the Hero’s Sword or the Meteorite apply their bonuses the moment the timer starts.
Batomon Abilities: Some monsters have specific "Start of Battle" triggers, while others rely on a cooldown timer that begins ticking at zero seconds.
Understanding the interaction between these triggers is vital. For instance, if you have a Batomon with a high CDR, its "on cast" ability might fire so quickly that it effectively functions as a start-of-combat trigger. Community reports suggest that stacking CDR on monsters like Plunderbird allows them to begin their healing cycles almost instantly, creating a "heal stall" that is notoriously difficult to overcome.
Triggers and Timing Table
Trigger Type
Timing
Example
Strategic Value
Passive Trinkets
0.0s (Instant)
Hero's Sword (+12 Dmg)
Provides immediate baseline power.
Start of Battle Ability
0.0s (Instant)
Meteorite (+20 Dmg to vanilla)
Ideal for "stat-check" builds.
High CDR Active
0.5s - 1.5s
Bumble Bolt (Shock)
Essential for early-game disruption.
Scaling Passive
Ongoing
Plunderbird (Heal/Multicast)
Best for long-duration "stall" builds.
Choosing the Right Trainer for Early Dominance
Your trainer selection is the foundation of your batomon showdown start of combat strategy. Each trainer offers a unique path to victory, influencing which Batomon you should prioritize in the shop.
The Bug Catcher: A favorite for early-game tempo. The ability to get a free bug monster every round allows you to build a wide board quickly. Bug monsters often rely on poison and quick hits, making them excellent for overwhelming opponents before their complex synergies can ramp up.
The Chef: This trainer is all about type manipulation. By granting fire typing to single-typed monsters, the Chef unlocks unique synergies that wouldn't otherwise be possible. Fire monsters often excel at "Burn" stacks, which begin ticking immediately at the batomon showdown start of combat.
The Monster Ranger: A well-rounded choice that focuses on general monster efficiency. Rangers are often seen utilizing "Stall" compositions, using the extra time to let their Batomon's multi-cast abilities reach critical mass.
Trainer Synergy Comparison
Trainer
Key Advantage
Best Batomon Synergy
Recommended Strategy
Bug Catcher
Economic Efficiency
Moss Slug, Bumble Bolt
Swarm the board with level 2/3 bugs early.
Chef
Elemental Flexibility
Brantis, Cinder
Stack Burn damage and utilize Fire-type trinkets.
Monster Ranger
Generalist Buffs
Plunderbird, Pebbler
Focus on evolution and high-value trinkets.
Key Batomon for a Strong Opening
Not all Batomon are created equal when it comes to the batomon showdown start of combat. Some monsters are designed to be "early bloomers," providing massive value in the first few seconds, while others are "late bloomers" that need protection to become effective.
According to player experience, the Plunderbird is currently one of the most versatile monsters in the game. When paired with the Bumagon, it can generate significant cash on victory while providing consistent healing. In the early days (Day 1-5), a level 2 Plunderbird can solo many common teams simply by out-healing their damage output.
Another standout is the Bumble Bolt. Its electric abilities and high speed make it a premier disruptor. If your Bumble Bolt can land a shock at the batomon showdown start of combat, it can reset enemy timers, effectively buying your team several seconds of free damage.
Top Tier Early Game Batomon
Pebbler (Common): A solid tank that provides shielding. Essential for surviving the initial burst of damage from aggressive teams.
Moss Slug (Common): Provides consistent utility. When leveled up, it can reduce the cooldown of monsters in the shop, helping you find your win conditions faster.
Wishwash (Super Rare): A powerful fairy monster that can turn the tide of a battle with its high base stats.
Stingard (Uncommon): Offers excellent attack power and can be evolved to provide global damage buffs when buying items.
Positioning Matters
In Batomon Showdown, the physical location of your Batomon on the board can trigger specific trinket bonuses. For example, some items buff the "top middle" monster or monsters in the "right column." Always check your trinket descriptions before clicking "Battle" to ensure your strongest damage dealer is receiving all available buffs at the batomon showdown start of combat.
Trinkets: The Secret to Breaking the Meta
Trinkets are the items that truly allow you to customize your batomon showdown start of combat performance. While Batomon provide the abilities, trinkets provide the multipliers.
One of the most sought-after items is the Dragon Egg. While it takes three days to hatch, the legendary dragon it produces is often a game-ender. However, players often debate if the egg is worth the "dead slot" on the bench. If your goal is immediate survival, the Hero's Sword (+12 flat damage) or the Training Weights (+5 damage, scaling) are often safer bets.
For those running a "vanilla" build (monsters with no innate abilities), the Meteorite is a must-have. It provides a permanent +20 damage boost to ability-less monsters at the start of every battle. This can turn basic commons into terrifying threats that can one-shot opponents in the opening frame.
Trinket Priority List
CDR Boosters: Anything that reduces cooldowns allows your Batomon to fire their abilities faster.
Flat Damage: Essential for the first 5 days to ensure you don't lose lives early.
Economy Trinkets: Items that grant extra gold on victory or free rerolls are vital for reaching the late-game mythics.
Adjacency Buffs: Trinkets that allow abilities to affect all allies instead of just adjacent ones can completely change your team's power level.
Advanced Strategies: Stall vs. Alpha Strike
As you progress toward Day 20 and beyond, you will notice two primary archetypes dominating the batomon showdown start of combat.
The Alpha Strike (One-Shot)
This strategy focuses on massive flat damage and instant triggers. The goal is to delete the enemy team before they can cast a single spell. This is often achieved using shiny monsters, level 3 attackers, and damage-stacking trinkets like the Hero's Sword. The risk here is running into a "Stall" team with high shielding (like Pebbler) that can survive the initial burst.
The Heal Stall
The "Heal Stall" is a more defensive approach. By utilizing Batomon like Plunderbird and Zephris, you create a team that heals faster than the opponent can deal damage. This strategy relies on surviving the batomon showdown start of combat and winning during "Sudden Death." Community reports from high-level play suggest that stall builds are incredibly effective in Extended Mode, as they are less susceptible to the RNG of enemy one-shots.
Strategy Comparison Table
Strategy
Primary Goal
Key Batomon
Weakness
Alpha Strike
Instant Kills
Bumble Bolt, Aster
High Shield/Tank teams
Heal Stall
Outlast Opponent
Plunderbird, Zephris
Massive Burst/One-shots
Poison/Burn
Damage over Time
Dribblet, Brantis
Fast teams that kill before stacks build
Navigating the Shop and Scaling
To ensure your batomon showdown start of combat remains competitive, you must manage your economy effectively. Ranking up the shop is a double-edged sword. While it allows you to find Legendary and Mythic Batomon, it also increases the cost of your rerolls and items.
A common mistake is spending too much gold searching for a specific level 3 monster early on. Instead, focus on building a cohesive team of level 2 monsters with strong trinket synergy. As you reach the later days, you can transition into mythic monsters that offer screen-clearing abilities.
For more information on specific monster stats and official updates, visit the Batomon Showdown on Steam page to stay up to date with the latest patches and developer notes.
Common Pitfalls at the Start of Combat
Even with a strong team, certain mistakes can lead to an early exit.
Ignoring CDR: If your opponent’s abilities fire at 1.0s and yours fire at 1.5s, you are at a massive disadvantage. Always look for ways to reduce your cooldowns.
Poor Positioning: Placing a fragile damage dealer in the front row where they take the brunt of the batomon showdown start of combat damage is a recipe for disaster.
Over-Greeding: Holding onto a Dragon Egg when you only have one life left is often a mistake. Sometimes, you need to sell the future to survive the present.
Ignoring Shiny Versions: Shiny Batomon have slightly higher stats. While they cost more, their impact on the opening phase of a fight is often worth the investment.
Sudden Death
If a battle lasts too long, "Sudden Death" will trigger, rapidly draining the health of all monsters. If your team is built for a long stall but lacks a definitive win condition, you might find yourself losing to the timer even if you have full health. Always ensure you have at least one high-damage dealer to close out the fight.
Conclusion: The Path to Championship
Mastering the batomon showdown start of combat is a journey of trial and error. Every run provides new insights into which synergies work and which fall flat. By focusing on trainer passives, optimizing your trinket placements, and choosing Batomon that can either disrupt the enemy or sustain your own team, you will find yourself winning more batches and reaching the elusive Day 40.
Remember, the "Ultimate Team" isn't just about the rarest monsters; it's about how those monsters work together from the very first second the battle begins. Keep experimenting, stay flexible in the shop, and always keep an eye on your ability timers.
</hr>
FAQ: Batomon Showdown Combat Tips
How do I make my Batomon attack faster at the start of combat?
To increase attack speed and reduce initial cooldowns, focus on Batomon with high base CDR or equip trinkets that provide "Reduce Cooldown" bonuses. Trainers like the Monster Ranger also offer passives that can help your team fire their abilities sooner during the batomon showdown start of combat.
What is the best trainer for a beginner?
The Bug Catcher is widely considered the best trainer for beginners. The ability to receive a free bug monster each round provides a significant economic advantage, allowing you to experiment with different team compositions without depleting your gold reserves too quickly.
How does the Dragon Egg work?
The Dragon Egg is a rare trinket that occupies a slot on your bench. It does not participate in the batomon showdown start of combat directly. Instead, after three days (three combat rounds), it hatches into a powerful Legendary Dragon monster that can be added to your active team.
Why did I lose a life even though the fight looked close?
Lives are lost based on how much damage the opponent's surviving monsters deal to your health bar. In Batomon Showdown, even a close fight can result in the loss of multiple lives if the opponent has high-damage monsters remaining. Focus on increasing your team's total HP and shielding to mitigate these losses.