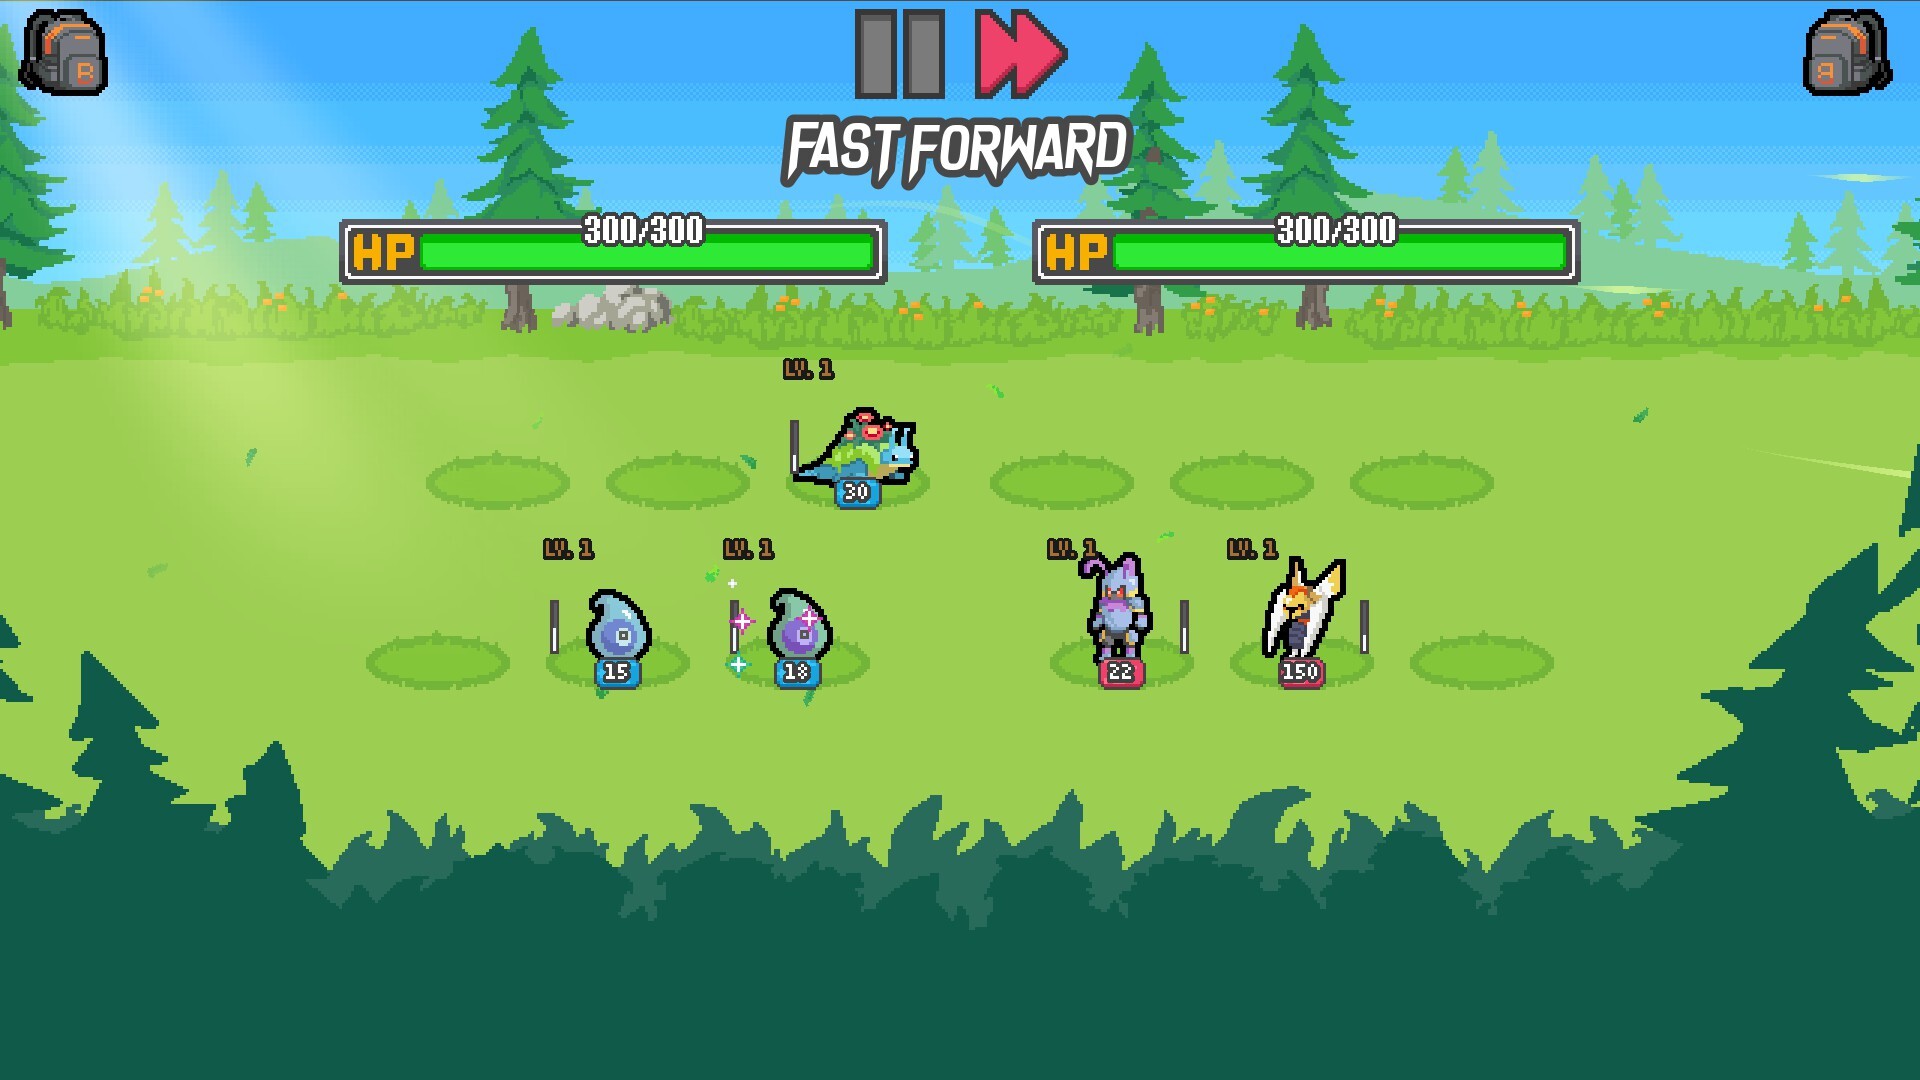
Batomon Showdown Fumungus Guide: Build the Ultimate Toxic Team
Master the Batomon Showdown Fumungus build with our expert guide. Discover tips to maximize poison synergies and dominate the leaderboard in this auto battler.
Published:
Table of Contents
Toxic builds are arguably some of the most satisfying strategies to master in Batomon Showdown. Among the various synergies, the Batomon Showdown Fumungus strategy stands out as a high-damage powerhouse capable of dismantling even the tankiest opposing teams. If you have been struggling to find the right poison engine, this guide will break down exactly how to turn this unique mushroom monster into your path to victory.
Understanding why specific monsters function well together is the key to climbing the ranks. By leveraging the right trainers and trinkets, you can shift your playstyle from a slow burn to an explosive endgame force. Whether you are a newcomer or a seasoned strategist, mastering these poison-focused mechanics is essential for your success.
Why Fumungus Is a Game-Changer
In the current Batomon Showdown meta, many players rely on raw shield scaling to survive. The Batomon Showdown Fumungus is a direct counter to this defensive playstyle because it scales damage based on the amount of poison currently applied to the target. Rather than waiting for the opponent to die from ticking damage, you are using the poison as a multiplier for your immediate output.
Fumungus Ability Breakdown
Attribute
Effect
Primary Role
Damage Dealer (Executioner)
Synergy
Toxic/Poison Allies
Core Mechanic
Additional damage equal to current enemy poison
Best Scaling
Multicast and Cooldown Reduction
According to community reports, the most effective way to run this unit is by positioning it alongside buffers that apply poison stacks early in the combat loop. When you combine this with a trainer that supports poison generation, you create a feedback loop that destroys high-HP enemies in seconds.
Assembling Your Toxic Engine
Building an optimal team requires more than just picking strong units; it requires precise positioning and item selection. To make the Batomon Showdown Fumungus build viable, you need to ensure your "poison-loaders"—the units that apply stacks—have low cooldowns and high multicast potential.
Maximize Your Poison Stacks
Always prioritize items that provide cooldown reduction for your poison-applying Batomon. Even a small 0.5s reduction can lead to exponentially higher damage for your heavy hitters.
Recommended Team Composition
Puffloon: A key component for scaling poison effects.
Venopuff: Excellent for early-game tempo and consistent toxic application.
Noxinimus: Necessary for spreading and maintaining poison across multiple targets.
Fumungus: Your primary finisher that converts stacks into lethal damage.
By focusing on these units, you ensure that every trigger of an ability contributes to the overall "poison pool" that the mushroom monster exploits.
Strategic Tips for Mid-Game Transitions
Mid-game is where most players lose their momentum. If your Batomon Showdown Fumungus build isn't scaling, you are likely failing to prioritize the right upgrades. Players often get baited into buying too many units, which dilutes your synergies.
Upgrade Priorities
Cooldown Reduction (CDR): Essential for maintaining the toxic uptime.
Multicast Trinkets: These allow your poison-loaders to apply double or triple stacks per activation.
Shop Refreshing: Only refresh when you have a clear goal; don't gamble your interest gold on low-tier units unless you are desperate.
Avoid Common Traps
Be careful not to hold onto early-game units that don't scale. Community veterans suggest selling off inefficient units once you reach the mid-game to maximize your interest gold, which is vital for the late-game pivot.
Advanced Tactics: The "Toxic Aura" Strategy
One of the most powerful aspects of this build, as noted by Batomon Showdown developers, is the use of aura-based traits. Certain trainers allow you to apply poison buffs without needing the units on the board at all times. This provides flexibility in your team composition.
Positioning and Trinkets
Positioning Rule
Why It Matters
Adjacent Triggers
Maximizes the impact of poison-spreading abilities.
Speed Buffs
Essential for the monster on the right to act before the target clears stacks.
Link Cable Trinket
Allows adjacent triggers to work globally (highly recommended).
If you are lucky enough to find the "Link Cable" item, your positioning constraints vanish. This lets you stack your team for maximum cooldown efficiency rather than worrying about the specific adjacency requirements of your monsters.
Troubleshooting Your Build
If your damage numbers look low despite having a strong board, check your math on the enemy's shield vs. your poison output. Some builds require the enemy to have a high HP pool for your damage multiplier to fully trigger.
Check your trainer ability: Is it set to boost poison specifically?
Monitor your cooldowns: Are your loaders acting too slowly?
Evaluate your trinkets: Are you missing a key multicast item that makes the difference?
Remember, the Batomon Showdown Fumungus is not a self-sufficient unit; it relies entirely on the infrastructure of your team. If your support units aren't hitting their triggers, your damage will plateau.
Final Thoughts on the Meta
The game is currently balanced around careful resource management. By focusing on the Batomon Showdown Fumungus core, you are playing into one of the most reliable strategies in the current patch. Stay consistent with your economy, prioritize your upgrades, and don't be afraid to pivot if the shop offers you better components.
For more information on game updates and strategies, check out the official Steam Community Hub.
Frequently Asked Questions (FAQ)
Q: Is the Batomon Showdown Fumungus build viable in the late game?
A: Absolutely. When fully upgraded with multicast and CDR, this build is one of the highest damage dealers in the game, capable of bypassing massive shield pools.
Q: Which trainer works best for a toxic build?
A: Trainers that offer starting poison buffs or those who can "cook" new types onto your monsters are generally preferred. The chemist-style trainers are particularly strong for early-game consistency.
Q: How do I handle shield-heavy opponents?
A: The poison mechanic is the best way to deal with shields. Since your damage is calculated after applying poison, you can often "burst" through high-shield opponents before they have a chance to recover.
Q: Is it better to upgrade one monster to level 4 or have a full board?
A: Quality over quantity is usually the winning rule. Having a few high-level, well-synergized monsters with deep cooldown reduction is significantly better than a board full of low-tier units that don't trigger each other's effects.