Batomon Showdown How to Use Riglet: A Comprehensive Guide
Learn how to use Riglet in Batomon Showdown effectively. Master this monster's unique mechanics, cloning strategies, and synergies for your ultimate team.
Published:
Table of Contents
Batomon Showdown has quickly become a standout title in the auto-battler genre, challenging players to optimize their teams with deep, complex mechanics. If you have been wondering about batomon showdown how to use riglet, you are not alone; this unit is a game-changer for those who understand how to leverage its cloning abilities to break the action economy.
Understanding batomon showdown how to use riglet is essential for players looking to transition from basic team compositions to meta-defining, high-damage output strategies. By learning to position your units correctly and selecting the right items, you can turn a single powerful monster into an unstoppable army on the battlefield.
Understanding the Riglet Mechanic
Riglet is a utility-focused monster that offers a unique advantage: it can "eat" an adjacent ally and clone it into the empty slots in your formation. This is not just a cosmetic change; it creates exact copies of the devoured monster, effectively doubling or tripling your strongest board presence instantly.
Why Use Riglet?
The core appeal of this monster is its ability to multiply high-value units that rely on specific items or stat-scaling. By sacrificing a secondary unit, you can bring an additional powerhouse into play.
Feature
Description
Strategic Benefit
Devour
Consumes an adjacent monster
Clears board space for higher-value clones
Clone
Summons exact copies
Multiplies the power of your primary carry
Slotting
Fills empty bottom-row slots
Maximizes the action economy of your team
Strategic Positioning and Setup
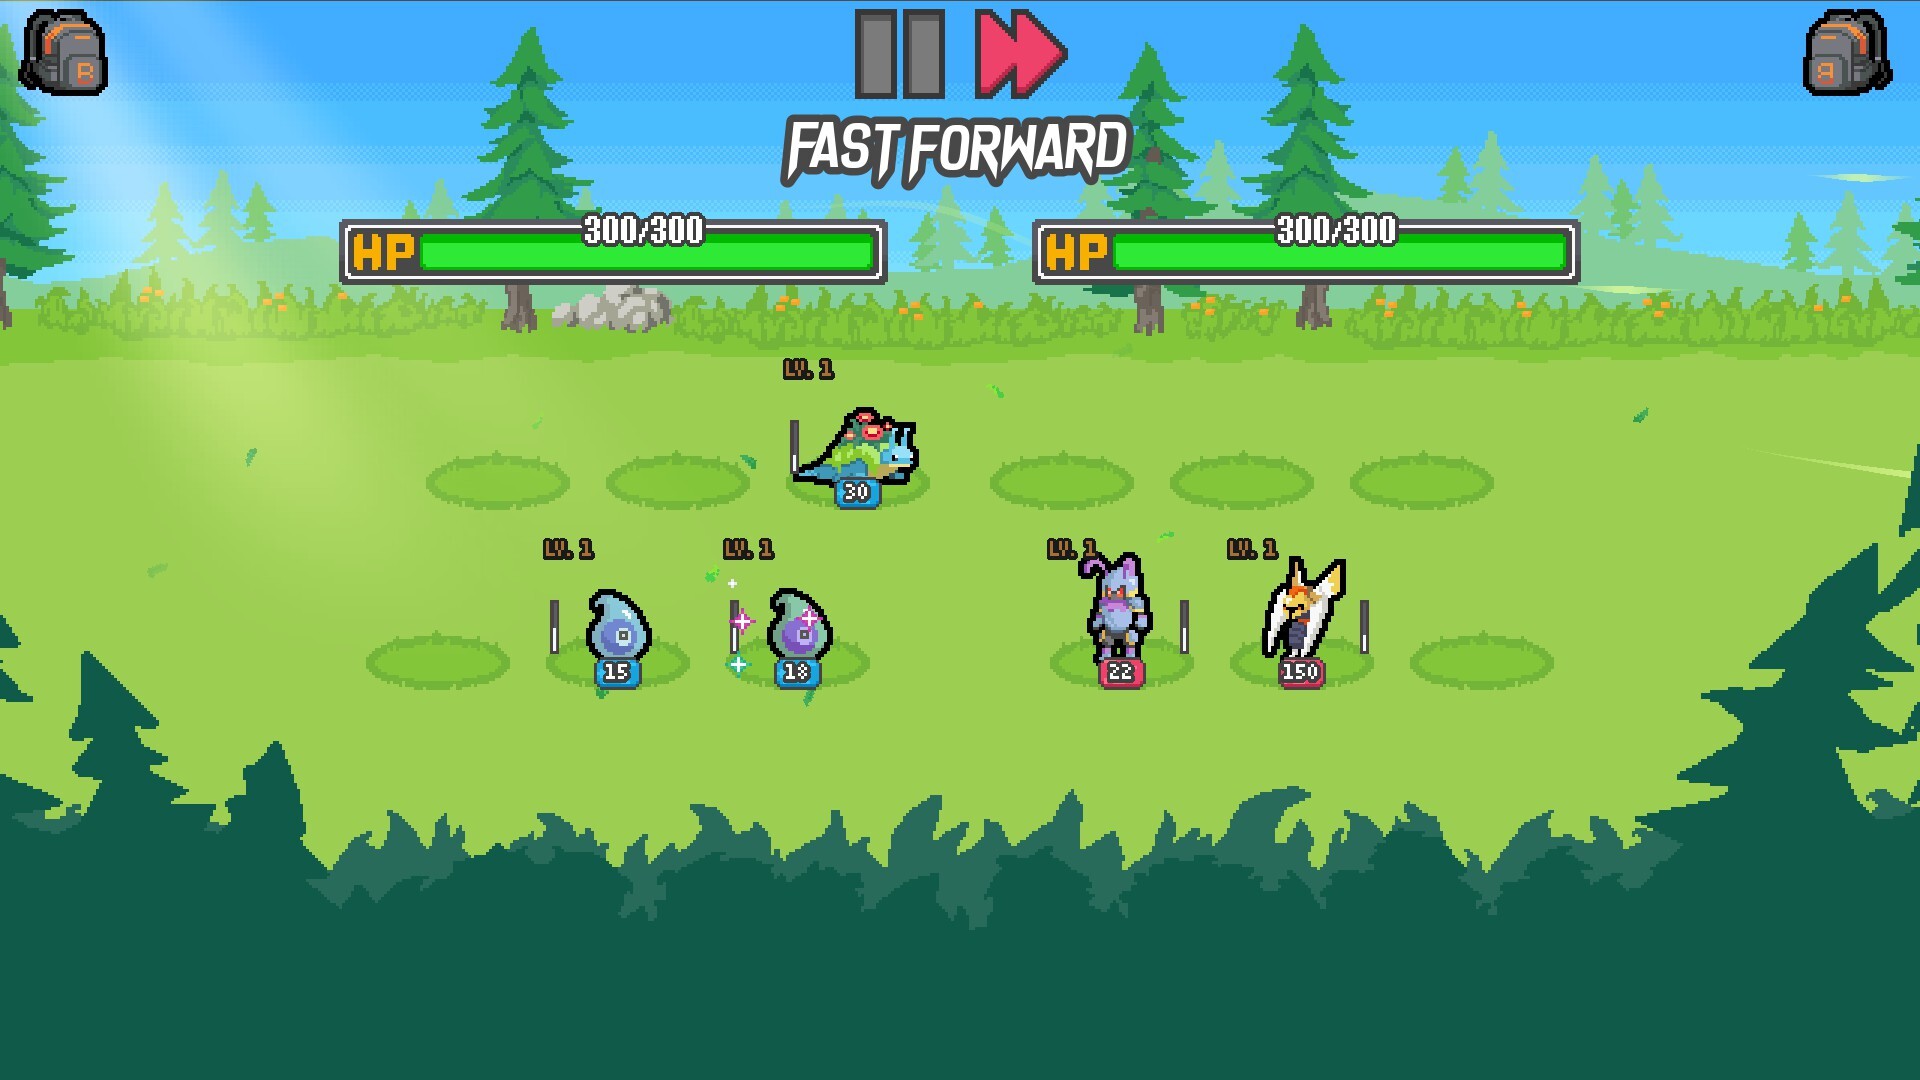
To master batomon showdown how to use riglet, you must treat your board layout as a tactical grid. Because Riglet targets specific positions, your setup needs to be deliberate. Community reports suggest placing your primary carry (the unit you want to clone) in a position where Riglet can reliably access it as soon as the battle starts.
The Ideal Board Configuration
Back Row: Reserved for your primary damage dealers or scaling units.
Middle Row: The "Riglet Zone." Place your Riglet here to ensure it is adjacent to your key targets.
Front Row: Usually dedicated to tanks or shock-inflicting monsters that absorb early damage.
[!TIP]
Optimization Checklist
Ensure the unit you want to clone is not already at max level, unless you are aiming for specific item duplication.
Monitor your board space; if the bottom row is full, Riglet cannot spawn clones.
Use items that reduce Riglet's cooldown so the cloning process happens before the enemy team's critical turn.
Synergizing with Powerful Units
One of the most frequent questions regarding batomon showdown how to use riglet involves pairing it with other monsters. According to veteran players, pairing Riglet with units like the Dryadel or high-tier legendaries can create a runaway effect where your team's scaling outpaces the opponent's defenses in seconds.
Top Synergies for Riglet
Synergistic Monster
Role
Interaction Effect
Dryadel
Scaler
Doubles the scaling output when cloned
Pebbler
Early Game
Creates a massive board presence early
Onetra
Stat Support
Massive stat gains per cast
Pylong
Multiplier
Enhances the total attack frequency
By cloning units that provide flat stat bonuses or cooldown reduction, you effectively turn your team into a machine gun of abilities. Always prioritize cloning units that have on-cast or ongoing effects, as these trigger more frequently when duplicated across your grid.
Advanced Tactics: Managing Cooldowns
As your team grows, managing the cooldowns of your clones becomes the next hurdle. Players often find that their cloned units are "too slow" compared to the enemy's optimized builds. To fix this, use items that provide cooldown reduction (CDR) or multicasting support.
If you are struggling to keep up, consider these factors:
Start-time reduction: Items that reduce the initial cast time allow your Riglet clones to start their abilities immediately.
Multicasting: This allows your clones to trigger multiple times in a single turn, which is crucial for late-game survival.
Shop Management: Always check if you can combine your extra Riglet copies to achieve a higher tier, which further improves their base speed.
Many players fail with this strategy because they neglect the "food" source. You must balance having enough units to fill your board while keeping one or two "expendable" monsters to fuel the Riglet's hunger.
Over-committing to early items: Don't waste your gold on common items that won't benefit your clones in the long run.
Ignoring Board Space: Failing to provide empty slots is the number one reason Riglet's ability fails to trigger.
Neglecting the "Extended Mode": If you are playing in extended mode, remember that enemy teams are significantly more unbalanced. Your Riglet strategy needs to be faster than ever to survive the extra days.
Frequently Asked Questions (FAQ)
How do I stop my Riglet from eating the wrong unit?
The key is strictly managing your board adjacency. Riglet will prioritize units in adjacent cells. If you have multiple units nearby, try to isolate your target carry from others until you are ready for the transformation.
Does Riglet clone the items equipped to the unit?
Yes, in many cases, the cloned unit inherits the state of the devoured monster, including certain modifiers. This is why cloning high-value legendaries is so powerful in the late game.
How does Riglet affect my Batomon Showdown meta strategy?
Using Riglet shifts your strategy from "diverse composition" to "tall stacking." You focus all your resources on one or two overpowered units and use Riglet to multiply them, effectively creating a team that is essentially 3-4 copies of your strongest unit.
Can I use Riglet in the base mode and extended mode?
Absolutely. While the developer has noted that extended mode is intentionally unbalanced and experimental, Riglet's cloning mechanic remains one of the most effective ways to push through the scaling difficulty found in longer runs. Always check your options menu to ensure extended mode is enabled if you want to test your limits.