
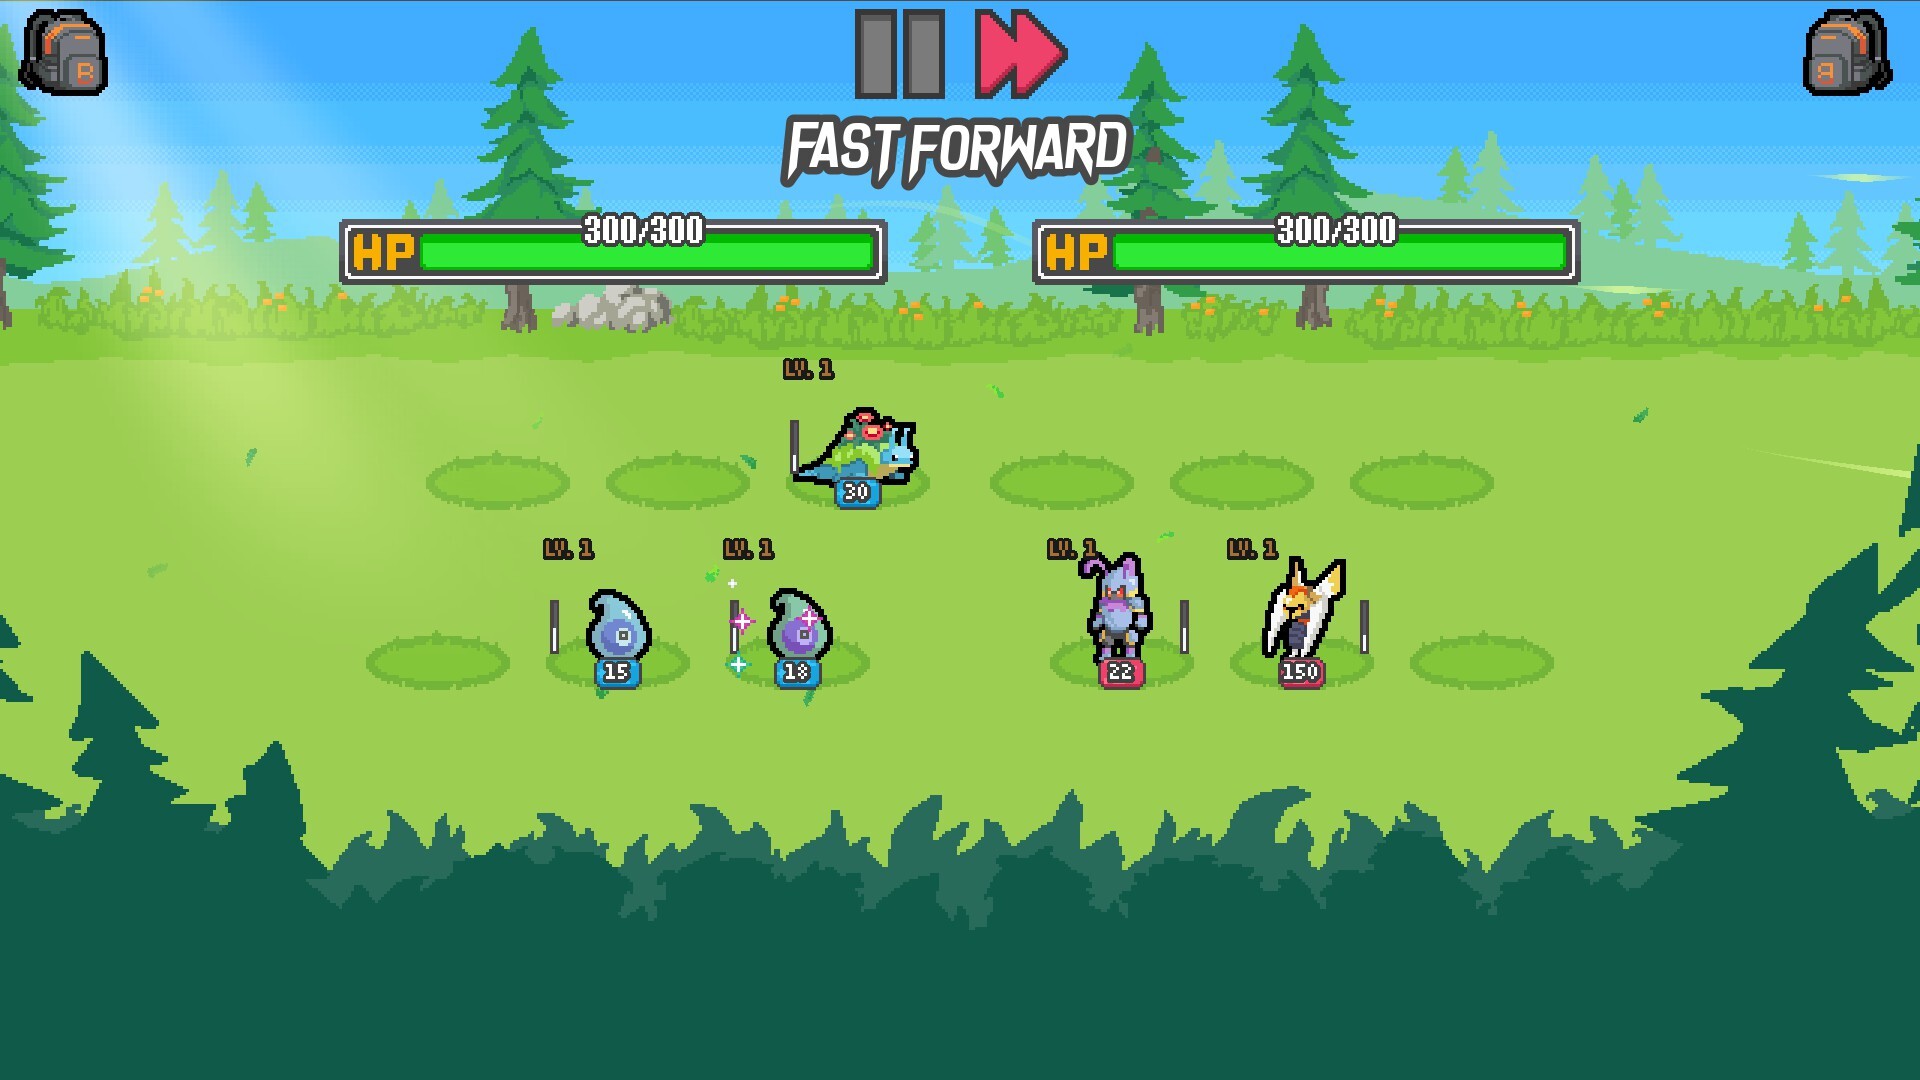
Batomon Showdown has quickly become a standout in the asynchronous auto-battler genre, blending the addictive nature of creature collection with deep, strategic deckbuilding. Developed by berrymint, this title challenges players to assemble a team of monsters, optimize their synergies, and survive long enough to secure 10 victories against other player-made teams. To truly excel, one must have a comprehensive grasp of the batomon showdown game mechanics, as the difference between a failed run and a championship often comes down to a single cooldown second or a perfectly placed status effect. Understanding these batomon showdown game mechanics allows you to transition from simple monster collecting to complex theorycrafting that can shatter the current meta.
Table of Contents
The Core Gameplay Loop: From Shop to Showdown
The journey in Batomon Showdown is structured around a daily cycle. Each "Day" represents a shop phase followed by a battle. Your primary objective is to reach 10 wins before your health (represented by hearts) reaches zero. As you progress, the stakes increase, and the damage taken from a loss scales with the number of days passed.
Managing Your Economy
Gold is the lifeblood of your strategy. You receive a set amount of gold each day, but savvy players utilize interest mechanics to stay ahead. By maintaining a balance of 50 gold, you can earn an additional 5 gold per turn, providing the capital needed for high-tier rerolls and legendary monsters.
The Rarity System
Batomon and items are categorized by rarity, which dictates their appearance rates in the shop and their overall power level.
| Rarity | Shop Appearance Rate (Early Game) | Item Drop Type | Cost |
|---|---|---|---|
| Common | High (75%+) | Common Trinkets | 10-15 Gold |
| Uncommon | Moderate (20-25%) | Uncommon Trinkets | 20-25 Gold |
| Rare | Low (5-10%) | Rare Trinkets | 30-40 Gold |
| Super Rare | Very Low (<5%) | Super Rare Trinkets | 50+ Gold |
| Legendary | Minimal (Late game only) | Legendary Trinkets | Variable |
Deep Dive into Batomon Showdown Game Mechanics: Status Effects
Status effects are the primary way to deal damage beyond basic attacks. Mastering the interaction between these effects is critical for high-level play. According to community reports, status-based teams (specifically Shock and Poison) currently dominate the leaderboards due to their exponential scaling.
The Power of Shock
Shock is arguably the most potent offensive mechanic in the game. Unlike flat damage, Shock stacks on the enemy. Each time your Batomon attacks a shocked enemy, the Shock value is added to the attack's damage.
- Example: If an enemy has 100 Shock and your Batomon hits for 5 damage, the total damage dealt is 105.
- Synergy: Because Shock is consumed (or utilized) per hit, Batomon with "Multicast" are the best users of this mechanic. A creature hitting three times will benefit from the Shock stack on every single strike.
Poison and Attrition
Poison deals damage over time (DoT). While Shock requires you to land hits to capitalize on the stacks, Poison ticks down automatically. This makes it ideal for defensive teams that focus on healing and shielding to outlast the opponent.
Burn and Burst
Burn mechanics often trigger additional effects when a monster wins a round or casts an ability. Trainers like the one who grants Fire monsters +2 Burn upon winning rely on this for mid-game snowballing.
The "Statue" Strategy One of the most advanced batomon showdown game mechanics involves using the "Electronade" monster. Normally, Electronade knocks itself out after a massive shock cast. However, if you pair it with a "Statue" trinket or monster that provides "Protect," you can prevent the self-knockout, allowing the bomb to trigger multiple times per battle.
Understanding Trainer Synergies
Your choice of Trainer at the start of a run dictates your early-game direction and late-game potential. Each trainer offers a unique passive ability that can be leveraged to break the standard balance of the game.
| Trainer | Key Ability | Best Synergy |
|---|---|---|
| Egg Breeder | Starts with a purple egg that hatches into a Super Rare on Day 4. | High-tier late-game scaling. |
| Musician | 150% Shock if you only have one Shock monster. | Single-target "Hyper-carry" builds. |
| Bug Catcher | First bug monster each round is free. | Wide boards and fast leveling. |
| Shiny Catcher | Increased chance for Shiny Batomon to appear. | High-stat, unique ability builds. |
Combat Mechanics: Cooldowns and Multicast
Combat in Batomon Showdown is automated, but the results are determined by the math behind your team's stats. The two most important stats to monitor are Cooldown and Multicast.
Optimizing Cooldowns
Every Batomon has an attack speed measured in seconds (e.g., 4.5s). Reducing this number is vital. Items like the "Battery Pack" or "Focus Pill" can shave seconds off these timers. In high-level play, a team that attacks every 2.0s will almost always beat a team attacking every 4.0s, even if the latter has higher raw damage, because they apply and trigger status effects twice as often.
The Multicast Meta
Multicast allows a Batomon to trigger its ability or attack multiple times in a single turn. This is the primary way players achieve "overpowered" status. Community experience suggests that stacking Multicast on low-cooldown commons (like Bumblebolt) can actually outperform single-strike Legendaries.
Advanced Shop Strategies: Leveling and Shinies
To succeed, you cannot simply buy every monster you see. You must curate your shop through rerolling and locking.
- Leveling Up: When you collect three copies of a Batomon, they merge into a Level 2 version, gaining stat boosts and granting you a random trinket based on their rarity. Reaching Level 3 requires even more copies but offers game-changing power spikes.
- Shiny Batomon: These are rare variants with different color palettes and enhanced abilities. While random, they often provide the necessary edge to overcome difficult encounters.
- Trinket Synergies: Some trinkets, like the "Trinket Doubler," can be combined with gold-generation items (like the Gold Bar) to create an economy that allows you to buy out the shop every turn.
Common Pitfalls and How to Avoid Them
Even veteran players can fall victim to poor management of batomon showdown game mechanics. Here are the most frequent mistakes observed in community gameplay:
- Over-rolling: Spending all your gold looking for one specific monster when your current board is weak. It is often better to take a "good enough" uncommon than to go broke looking for a rare.
- Ignoring Positioning: Some Batomon have "Adjacent Ally" buffs. If your buffer is on the far left and your carry is on the far right, you are losing free stats.
- Neglecting Defense: While Shock builds are fun, they are glass cannons. Without at least one monster providing Shields or Protect, a fast-attacking enemy team will delete your carries before they can cast.
For official updates and detailed patch notes, players should regularly check the Batomon Showdown Steam Page, which remains the most authoritative source for game balance changes.
The Jinto vs. Pantra Balance
Recent community reports and developer updates have highlighted a significant power discrepancy between regions. Currently, the Jinto region is known for high-damage "one-shot" builds. The developer, berrymint, has stated that future balance patches will aim to bring Jinto's DPS in line with the more attrition-based Pantra teams to ensure a healthier competitive environment.
Key Takeaway To win in Batomon Showdown, focus on Cooldown Reduction and Multicast. Use the Musician for Shock builds or the Egg Breeder for a guaranteed power spike on Day 4. Always keep your economy above 50 gold for maximum interest unless you are one loss away from elimination.
FAQ: Batomon Showdown Strategy
How do I get more Shiny Batomon?
Shinies appear randomly in the shop, but your chances increase significantly if you choose the Shiny Catcher trainer. Some specific items and encounters may also trigger a "Shiny" transformation for your existing monsters.
What is the best way to use the batomon showdown game mechanics for Shock?
The best way to utilize Shock is to pair a high-stacking Shock applier (like Electronade) with a fast-attacking Multicast monster (like Bumblebolt or Velocidict). This ensures that the Shock damage is triggered multiple times in rapid succession.
Why did my Batomon disappear after combat?
Some Batomon, particularly those with explosive abilities like Pyronade or Electronade, have a "knockout" mechanic where they destroy themselves after casting. To prevent this, you must apply "Protect" stacks through other monsters' abilities or specific trinkets.
How does the interest mechanic work?
You earn 1 extra gold for every 10 gold you have in your bank at the end of a round, up to a maximum of 5 bonus gold (at 50 gold). Managing your batomon showdown game mechanics effectively requires balancing your spending to stay near this 50-gold threshold for as long as possible.
Sources and known gaps
- Save 35% on Batomon Showdown on Steam Source accessed:
- Batomon Showdown Source accessed:
- My New Favorite Autobattler! | Batomon Showdown (Ep. 1) Source accessed:
- A Shocking Strategy! | Batomon Showdown (Ep. 3) Source accessed: