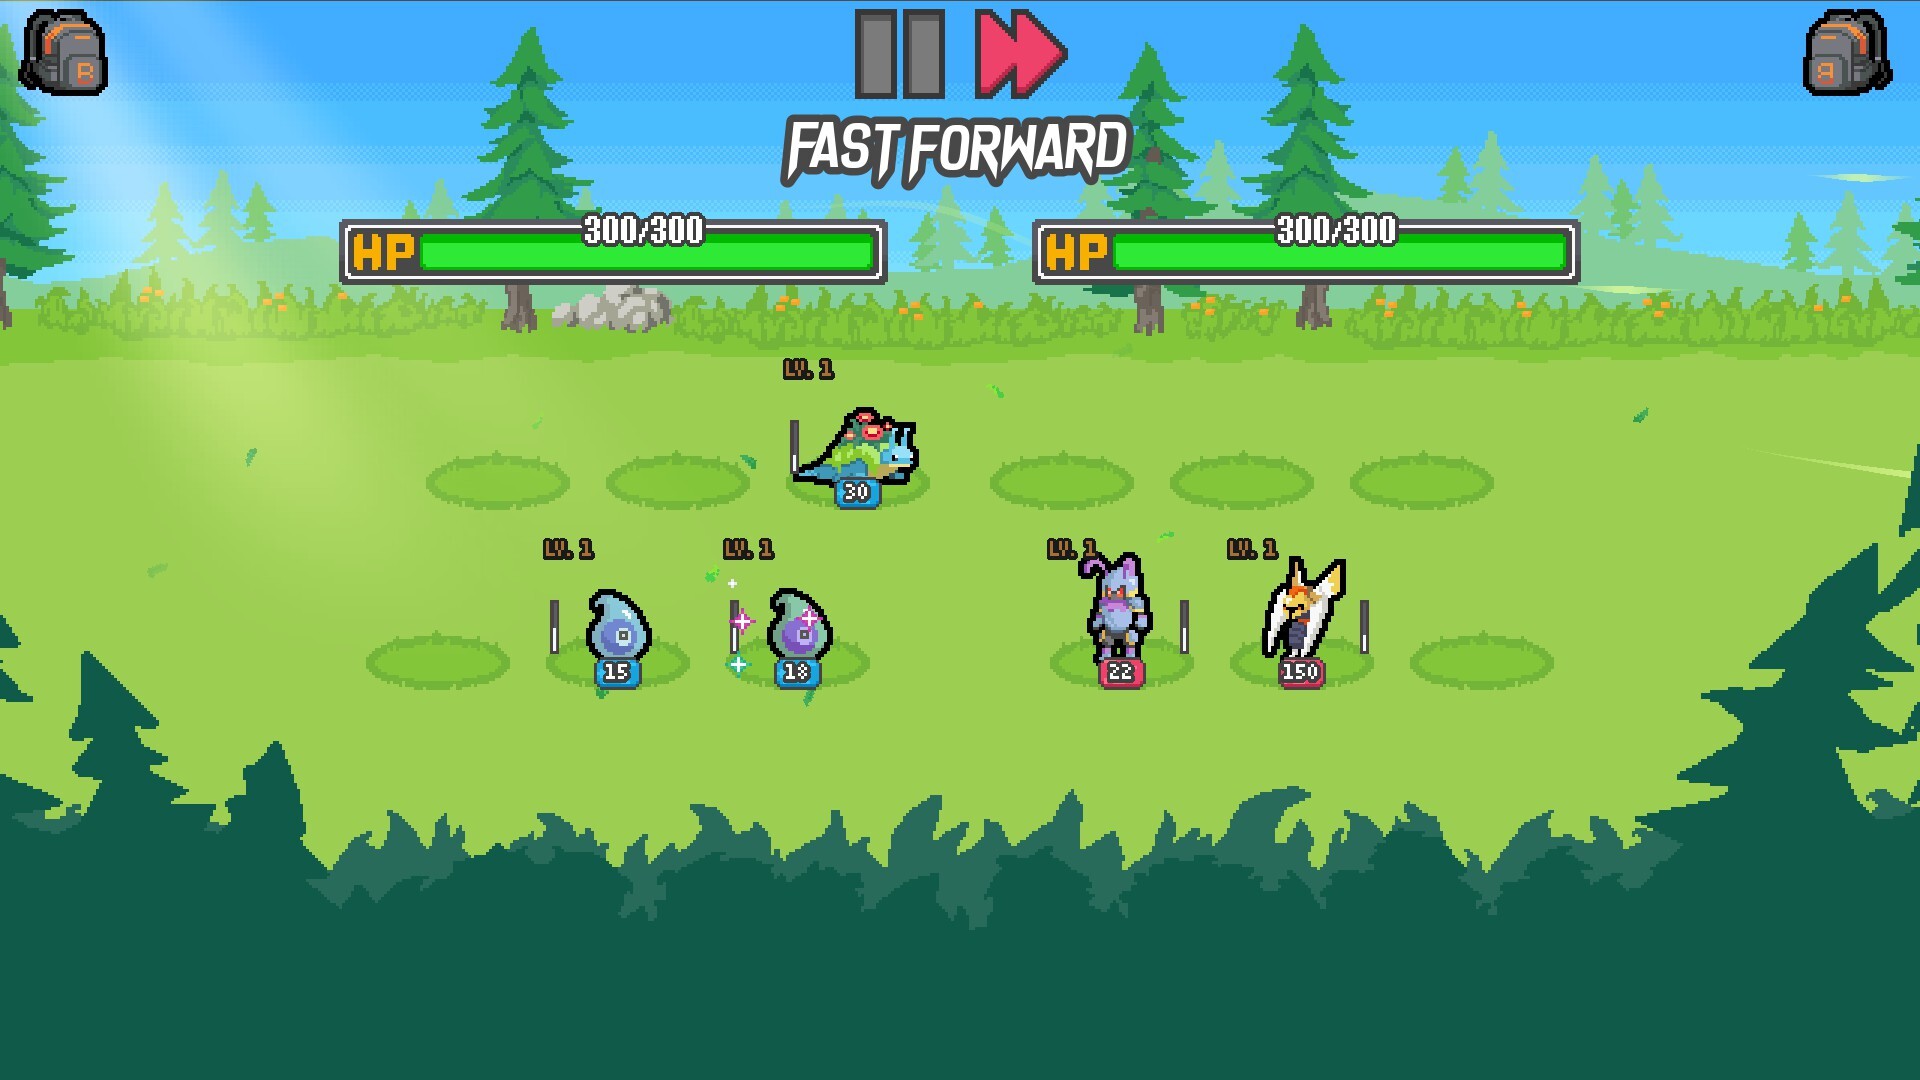
Master the Batomon Showdown Mallogre Hammer Build Today
Learn how to dominate with the Batomon Showdown Mallogre hammer build. Discover trinket synergies, team comps, and strategies to crush the Season 1 meta.
Published:
Table of Contents
The launch of Season 1 in Batomon Showdown has completely shifted the competitive landscape, introducing new regions and complex mechanics that reward deep theorycrafting. Among the most devastating strategies emerging from the community is the batomon showdown mallogre hammer build, a high-scaling composition that turns trinket collection into raw offensive power. If you are struggling to break through the late-game walls of Jinto-region teams, understanding how to wield the Mallogre "hammer" is essential for your climb to Master rank.
This batomon showdown mallogre hammer strategy relies on a specific interaction between Rock-type scaling and "On Battle Start" triggers. By leveraging Mallogre’s unique ability to gain damage and shield based on the number of trinkets you own, players can create a monster that is virtually unkillable while delivering one-shot potential. In this guide, we will break down the exact monsters, trinkets, and trainer choices needed to pilot this build effectively from the early-game struggle to the final victory screen.
The Core Mechanics of Mallogre
Mallogre is a Rock-type Batomon that serves as the cornerstone of this build. Unlike "glass cannon" monsters that rely purely on speed, Mallogre thrives on durability and late-game scaling. Its primary ability triggers at the start of a battle, granting it a flat increase to both Shield and Damage for every trinket currently in your inventory.
Why Mallogre?
Mallogre is the ultimate "stat-stick" in Batomon Showdown. Because its scaling is tied to trinkets—a resource you naturally accumulate—it allows you to focus your gold on shop rerolls and leveling other utility monsters while it grows passively stronger.
According to community reports, the "Hammer" moniker comes from the visual and mechanical impact of Mallogre’s heavy hits once it reaches critical mass. When paired with the right support, Mallogre doesn't just chip away at health; it "hammers" through the opponent's frontline.
Mallogre Base Stats and Scaling Potential
Level
Base HP
Base Damage
Ability Scaling (Per Trinket)
Level 1
240
40
+3 Damage / +3 Shield
Level 2
480
80
+6 Damage / +6 Shield
Level 3
960
160
+12 Damage / +12 Shield
Level 4
1920
320
+20 Damage / +20 Shield
Note: Level 4 requires specific events or the Ultra Candy mythical item, which is currently a high-tier achievement in the Steam version.
Building the Batomon Showdown Mallogre Hammer Synergy
The secret to a successful batomon showdown mallogre hammer run is not just finding the monster, but maximizing the number of times its "On Battle Start" ability triggers. In Batomon Showdown, positioning is everything. To truly unlock the "Hammer," you need the Drakonid Arc, a legendary-tier monster or effect that activates the "On Battle Start" abilities of adjacent allies.
Essential Synergy Pieces
To make this build work, you must look for these specific components:
Drakonid Arc: Position this next to Mallogre. It will force Mallogre’s ability to fire an additional time at the start of combat, effectively doubling your trinket-based bonuses.
Repeater Charm: This trinket is the "secret sauce." It allows ongoing or start-of-battle effects to trigger twice. When combined with Drakonid Arc, Mallogre can potentially trigger its scaling three or four times before the first second of the match has passed.
Steam Scuttle: While Mallogre provides the power, Steam Scuttle provides the speed. Its ability to grant cooldown speed to allies ensures that Mallogre’s heavy-hitting attacks (which usually have a long 6.0s+ cooldown) fire more frequently.
Ribbon Trinkets: These are non-unique trinkets that are easy to stack. Since Mallogre scales off the quantity of trinkets, even "trash" trinkets become valuable fuel for the hammer.
Trinket Priority Table
Priority
Trinket Name
Effect
Reason for Selection
S-Tier
Repeater Charm
Double Start Abilities
Essential for doubling Mallogre's shield/damage.
S-Tier
Link Cable
All monsters are adjacent
Removes positioning restrictions for Drakonid Arc.
A-Tier
Ancient Plume
Bonus Cooldown Speed
Helps Mallogre overcome its naturally slow attack rate.
A-Tier
Fancy Sword
+3% Damage per Trinket
Multiplies the flat damage Mallogre gains from its ability.
B-Tier
Any Common Trinket
Varies
Purely to increase the trinket count for scaling.
Step-by-Step Guide to Executing the Build
Successfully piloting the batomon showdown mallogre hammer requires a disciplined approach to the early and mid-game. You cannot start with Mallogre; you must pivot into it.
Phase 1: The Early Game (Days 1-5)
In the early days, focus on survival and gold generation. Trainers like the Scavenger or Lucky Girl are excellent choices here. Use high-value early monsters like Rattlegast to secure wins. Rattlegast is widely considered a "solo carry" for the first few rounds because of its high base damage. Your goal here is to collect as many common trinkets as possible. If you see a Kindlepot, grab it—it provides burn synergy that can carry you through the mid-game while you look for your Rock-type pieces.
Phase 2: The Mid-Game Pivot (Days 6-10)
This is where you begin searching for Mallogre. Community reports suggest that players often make the mistake of switching too early. You should only sell your early-game carries once you have at least one Mallogre and a way to boost its triggers (like a Shiny Sukoi or an early Drakonid).
The Shiny Difference
A Shiny Mallogre has a reduced cooldown (approx. 3.8s compared to 6.0s). If you find a Shiny version in the shop, prioritize it above almost everything else. That 2.2-second difference is often the gap between winning and losing against fast Poison teams.
Phase 3: The Late Game (Days 11+)
By now, your batomon showdown mallogre hammer should be fully operational. You are looking for the "Everything is Adjacent" trinket or the Link Cable. This allows you to place Mallogre anywhere on the board while still receiving the Drakonid Arc buffs. Monitor your cooldowns—if your Mallogre’s attack cooldown drops below 5 seconds, ensure you aren't losing out on "Heavyweight" bonuses that only apply to slower, harder-hitting monsters.
Positioning for Maximum Impact
Positioning is the most frequent point of failure for new players. Without the Link Cable, you must follow a strict layout to ensure Mallogre receives all possible buffs.
Ideal Layout (Top to Bottom):
Slot 1 (Top): Steam Scuttle (Provides Cooldown Speed to the middle).
By placing Mallogre in the center, it can be buffed by both the speed of the Scuttle and the trigger-reset of the Drakonid. If you are using the Twins trainer, you can even double up on the middle slot's effectiveness, though this requires advanced micro-management of your bench space.
Overcoming Common Obstacles
Even the mighty batomon showdown mallogre hammer has weaknesses. The most notable threat in Season 1 is the Jinto region's high-DPS "one-shot" builds.
Dealing with Poison and Burn
Poison ticks can bypass shields if the opponent has specific penetration trinkets. To counter this, you need to ensure your Mallogre has enough raw HP to survive the initial ticks.
Strategy: If you face a "Turbo Poison" build (often involving Toxiolith and Formiqueen), look for the Shelter trinket. It provides a brief window of invulnerability or high resistance at the start of the match, giving your Mallogre time to land its first devastating blow.
Managing Server Congestion and Disconnects
As noted in the official Batomon Showdown Steam news, the developer berrymint has recently implemented a "Poor Connection" mode. If you experience lag while searching for an opponent, the game will now allow you to fight a copy of a player's team locally. This is actually a great way to test your Mallogre Hammer build without the pressure of a live timer.
Advanced Tactics: The Level 4 Mallogre
Reaching Level 4 is the "Holy Grail" of this build. Since two Level 3 monsters do not automatically merge into a Level 4, you must rely on specific events.
The Professor Event: Occasionally, you will encounter an event that allows you to level up a monster beyond its normal limit.
Ultra Candy: A mythical item that can be found in the Steam version's extended modes.
A Level 4 Mallogre with the batomon showdown mallogre hammer setup can reach over 5,000 HP and 1,000+ Shield per trigger. At this stage, the game essentially becomes a victory lap.
Achievement
Requirement
Reward/Effect
Trinket Hoarder
Own 20+ Trinkets
Massive Mallogre Scaling
Rock Solid
Win with 3 Rock Allies
Permanent Shield Bonus
Hammer Time
One-shot an enemy with Mallogre
Community Bragging Rights
Why the Mallogre Hammer is the Meta Choice
The primary reason this build is dominating Season 1 is its consistency. Unlike "Gamble" builds that rely on specific RNG procs during the fight, the Mallogre Hammer is "front-loaded." Most of its power is decided the moment the battle starts. This reduces the impact of bad luck during the actual combat phase.
Furthermore, the recent balance patches (Hotfix 1.0.1 to 1.0.3) have toned down some of the more oppressive Jinto one-shot builds, giving Rock-type monsters like Mallogre more room to breathe. According to player experience, the increased base HP at Day 10+ has made "stalling" a viable tactic, and no one stalls better than a Mallogre with 2,000 Shield.
Avoid the Cooldown Trap
Be careful with "Multicast" buffs. While casting twice sounds good, if it increases your cooldown significantly, you might get stuck in a loop where Mallogre never actually fires its ability before the enemy's Poison stacks reach lethal levels.
Conclusion: Crushing the Competition
Mastering the batomon showdown mallogre hammer build is a journey of understanding resource management. You aren't just collecting monsters; you are collecting a toolkit. By focusing on trinket accumulation, utilizing the Drakonid Arc for double triggers, and maintaining proper positioning, you can transform Mallogre from a slow tank into a world-shattering force.
As you head into your next run, remember to stay flexible. If the shop doesn't give you Mallogre early, use the Scavenger trainer to build up a gold reserve, then pivot hard once the pieces fall into place. The hammer is waiting—it's time to strike.
FAQ
How do I get the Mallogre Hammer to one-shot enemies?
The "one-shot" potential comes from stacking Fancy Sword trinkets and ensuring you have at least 15+ trinkets in total. When the batomon showdown mallogre hammer ability triggers multiple times via Drakonid Arc, the damage numbers can exceed the maximum HP of most non-boss monsters.
Does Mallogre work well with the Twins trainer?
Yes, the Twins are excellent for this build because they can help you reach Level 3 Mallogre faster. However, be mindful of your bench space, as you will need room for both Mallogres and their synergy pieces like Steam Scuttle.
What is the best region to start in for this build?
While Mallogre is a Rock-type often associated with earlier regions, it performs exceptionally well against the high-damage teams of the Jinto region. Starting in a region that allows for easy trinket collection (like Pantra) is usually recommended before pivoting to the Hammer build in the late game.
Can I run Mallogre without Drakonid Arc?
You can, but the power level will be significantly lower. The batomon showdown mallogre hammer build relies on the "On Battle Start" multiplier. Without the Arc or a similar trigger-reset mechanic, Mallogre acts more like a standard tank than a carry.